Hi everybody! Here, I will present to you my work while working on The Strive project.
If you want to play the game, you can reach the download page here.
First Pitch Presentation:
Final Presentation:
Useful Links: Watch on YouTube / CGL Presentation / BA4 - ST2021 - Alterity- The Strive
#0: Unity Bone Pixel Animation Prototype
Although I use Unity’s bone system in raster graphics, I never tried that in the pixel characters. Thanks to Nat, I read this post and start to prototype it.
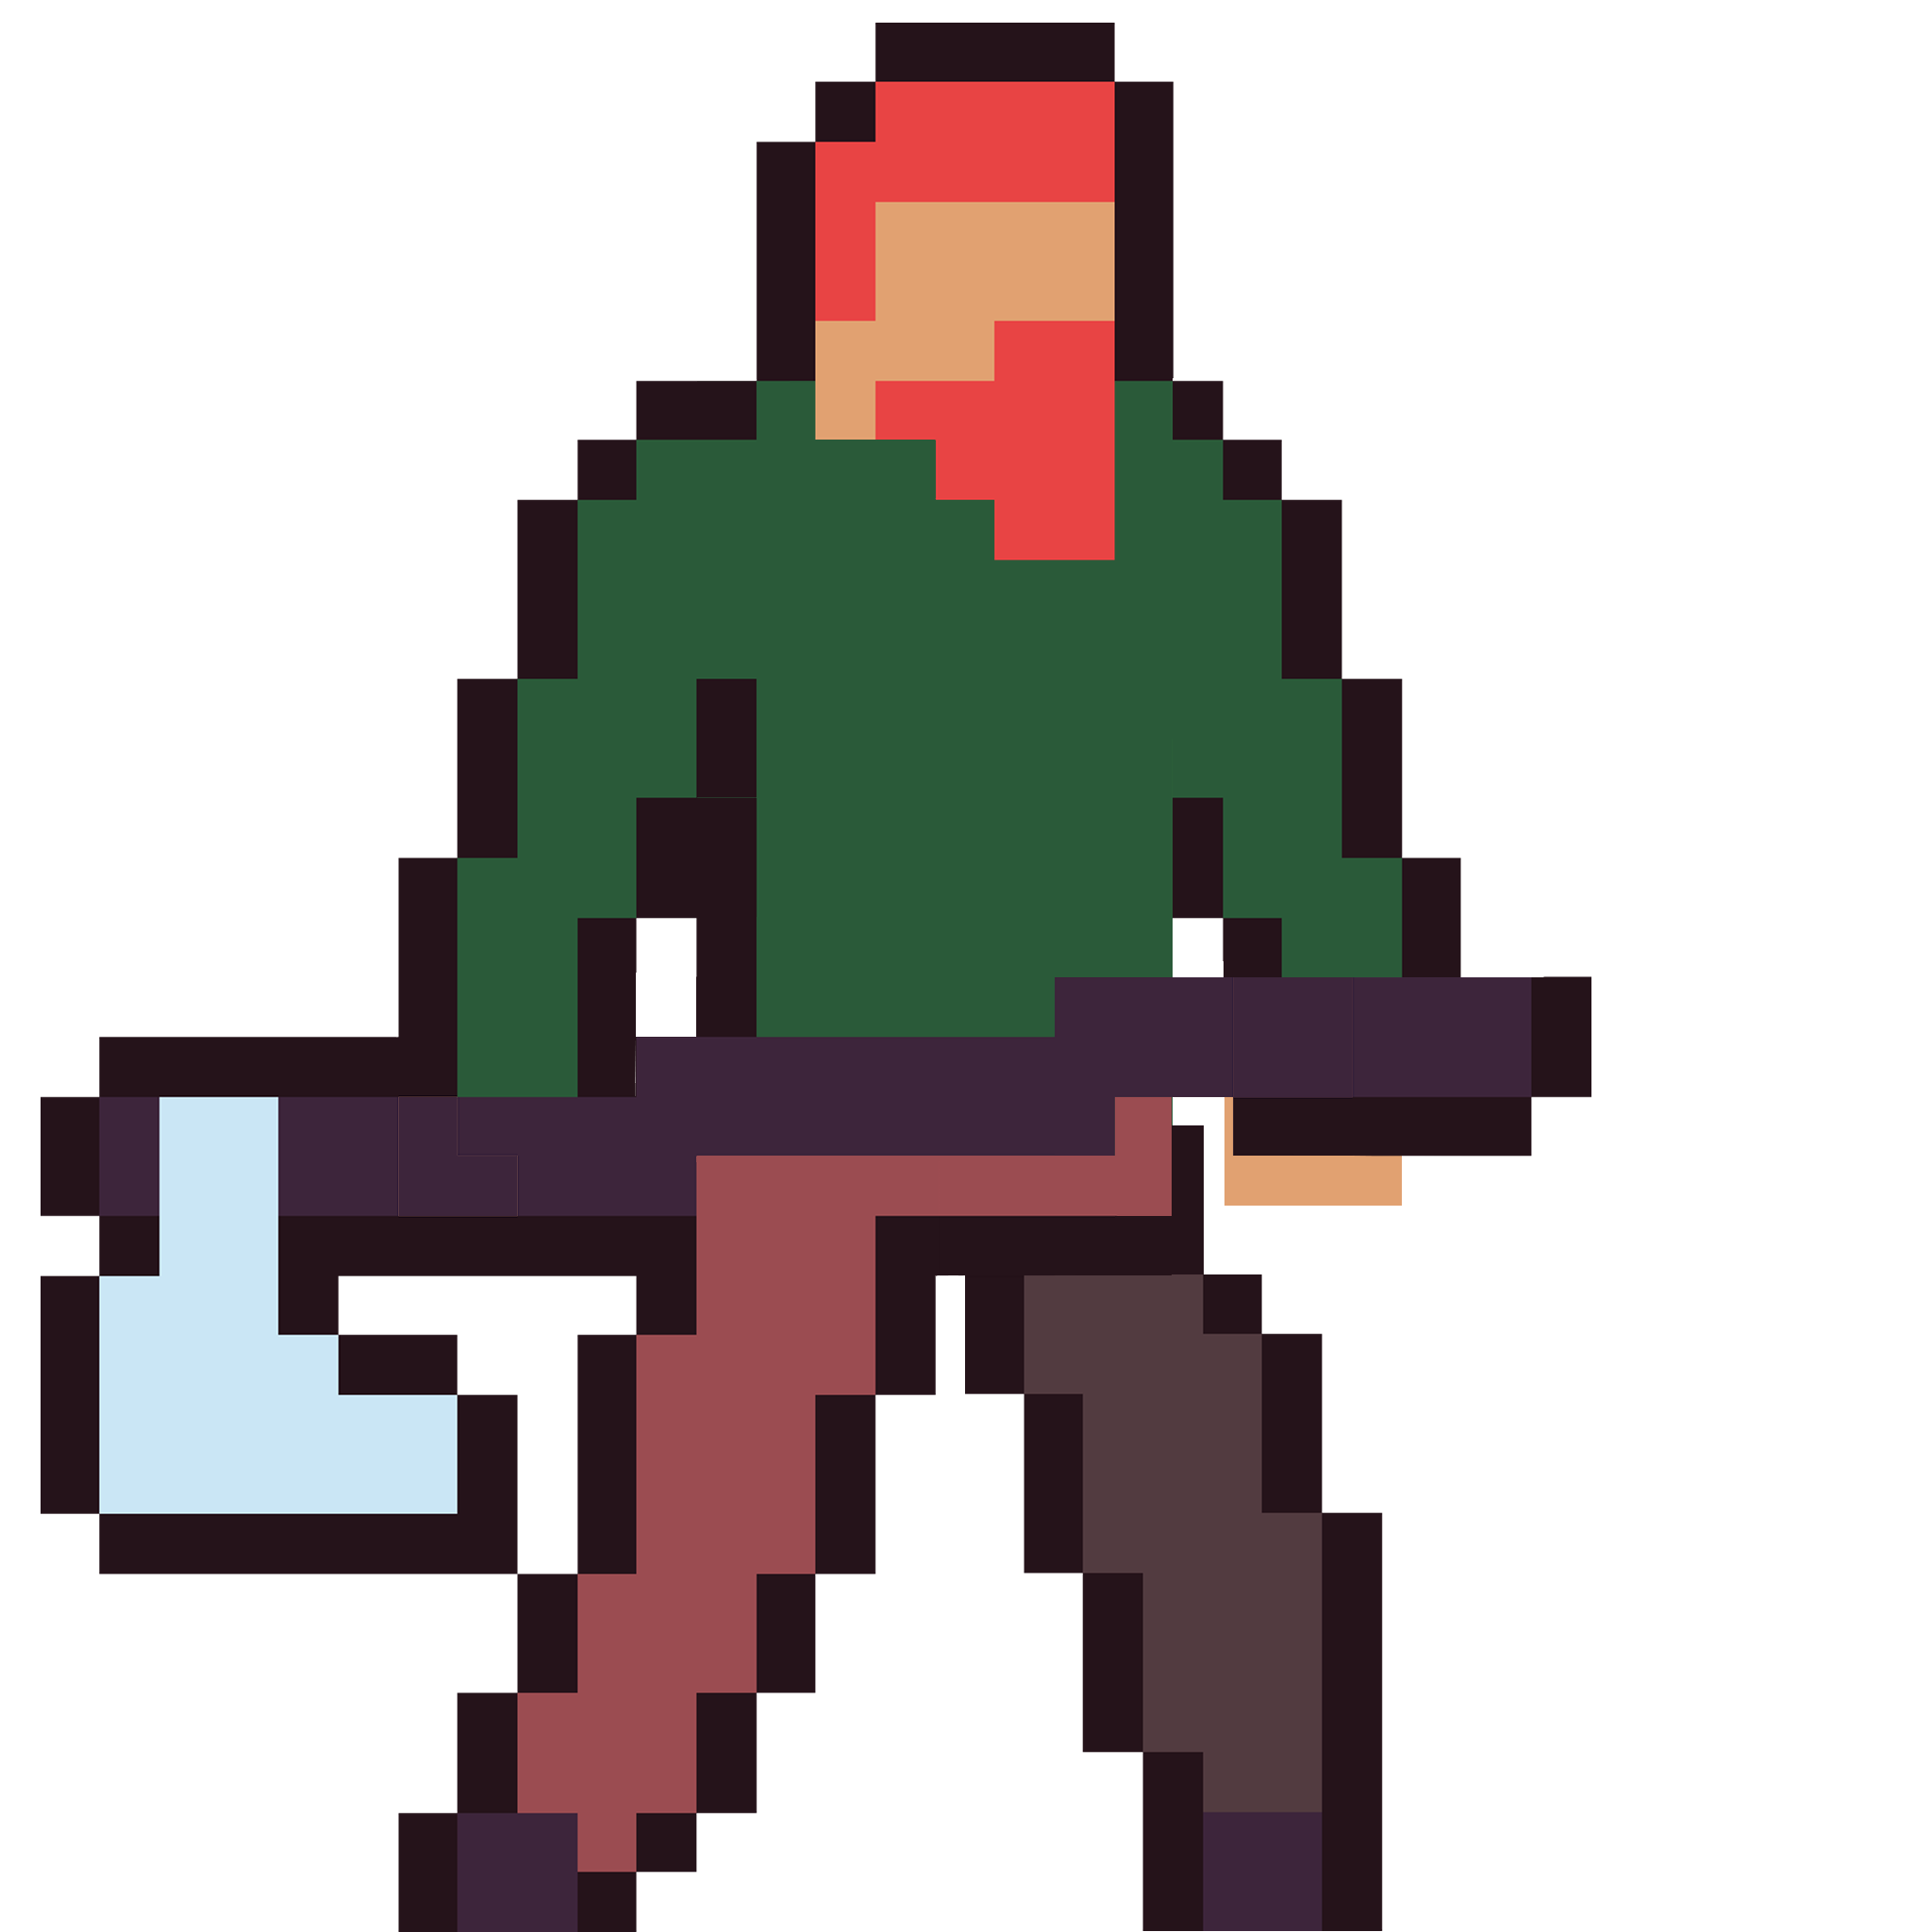
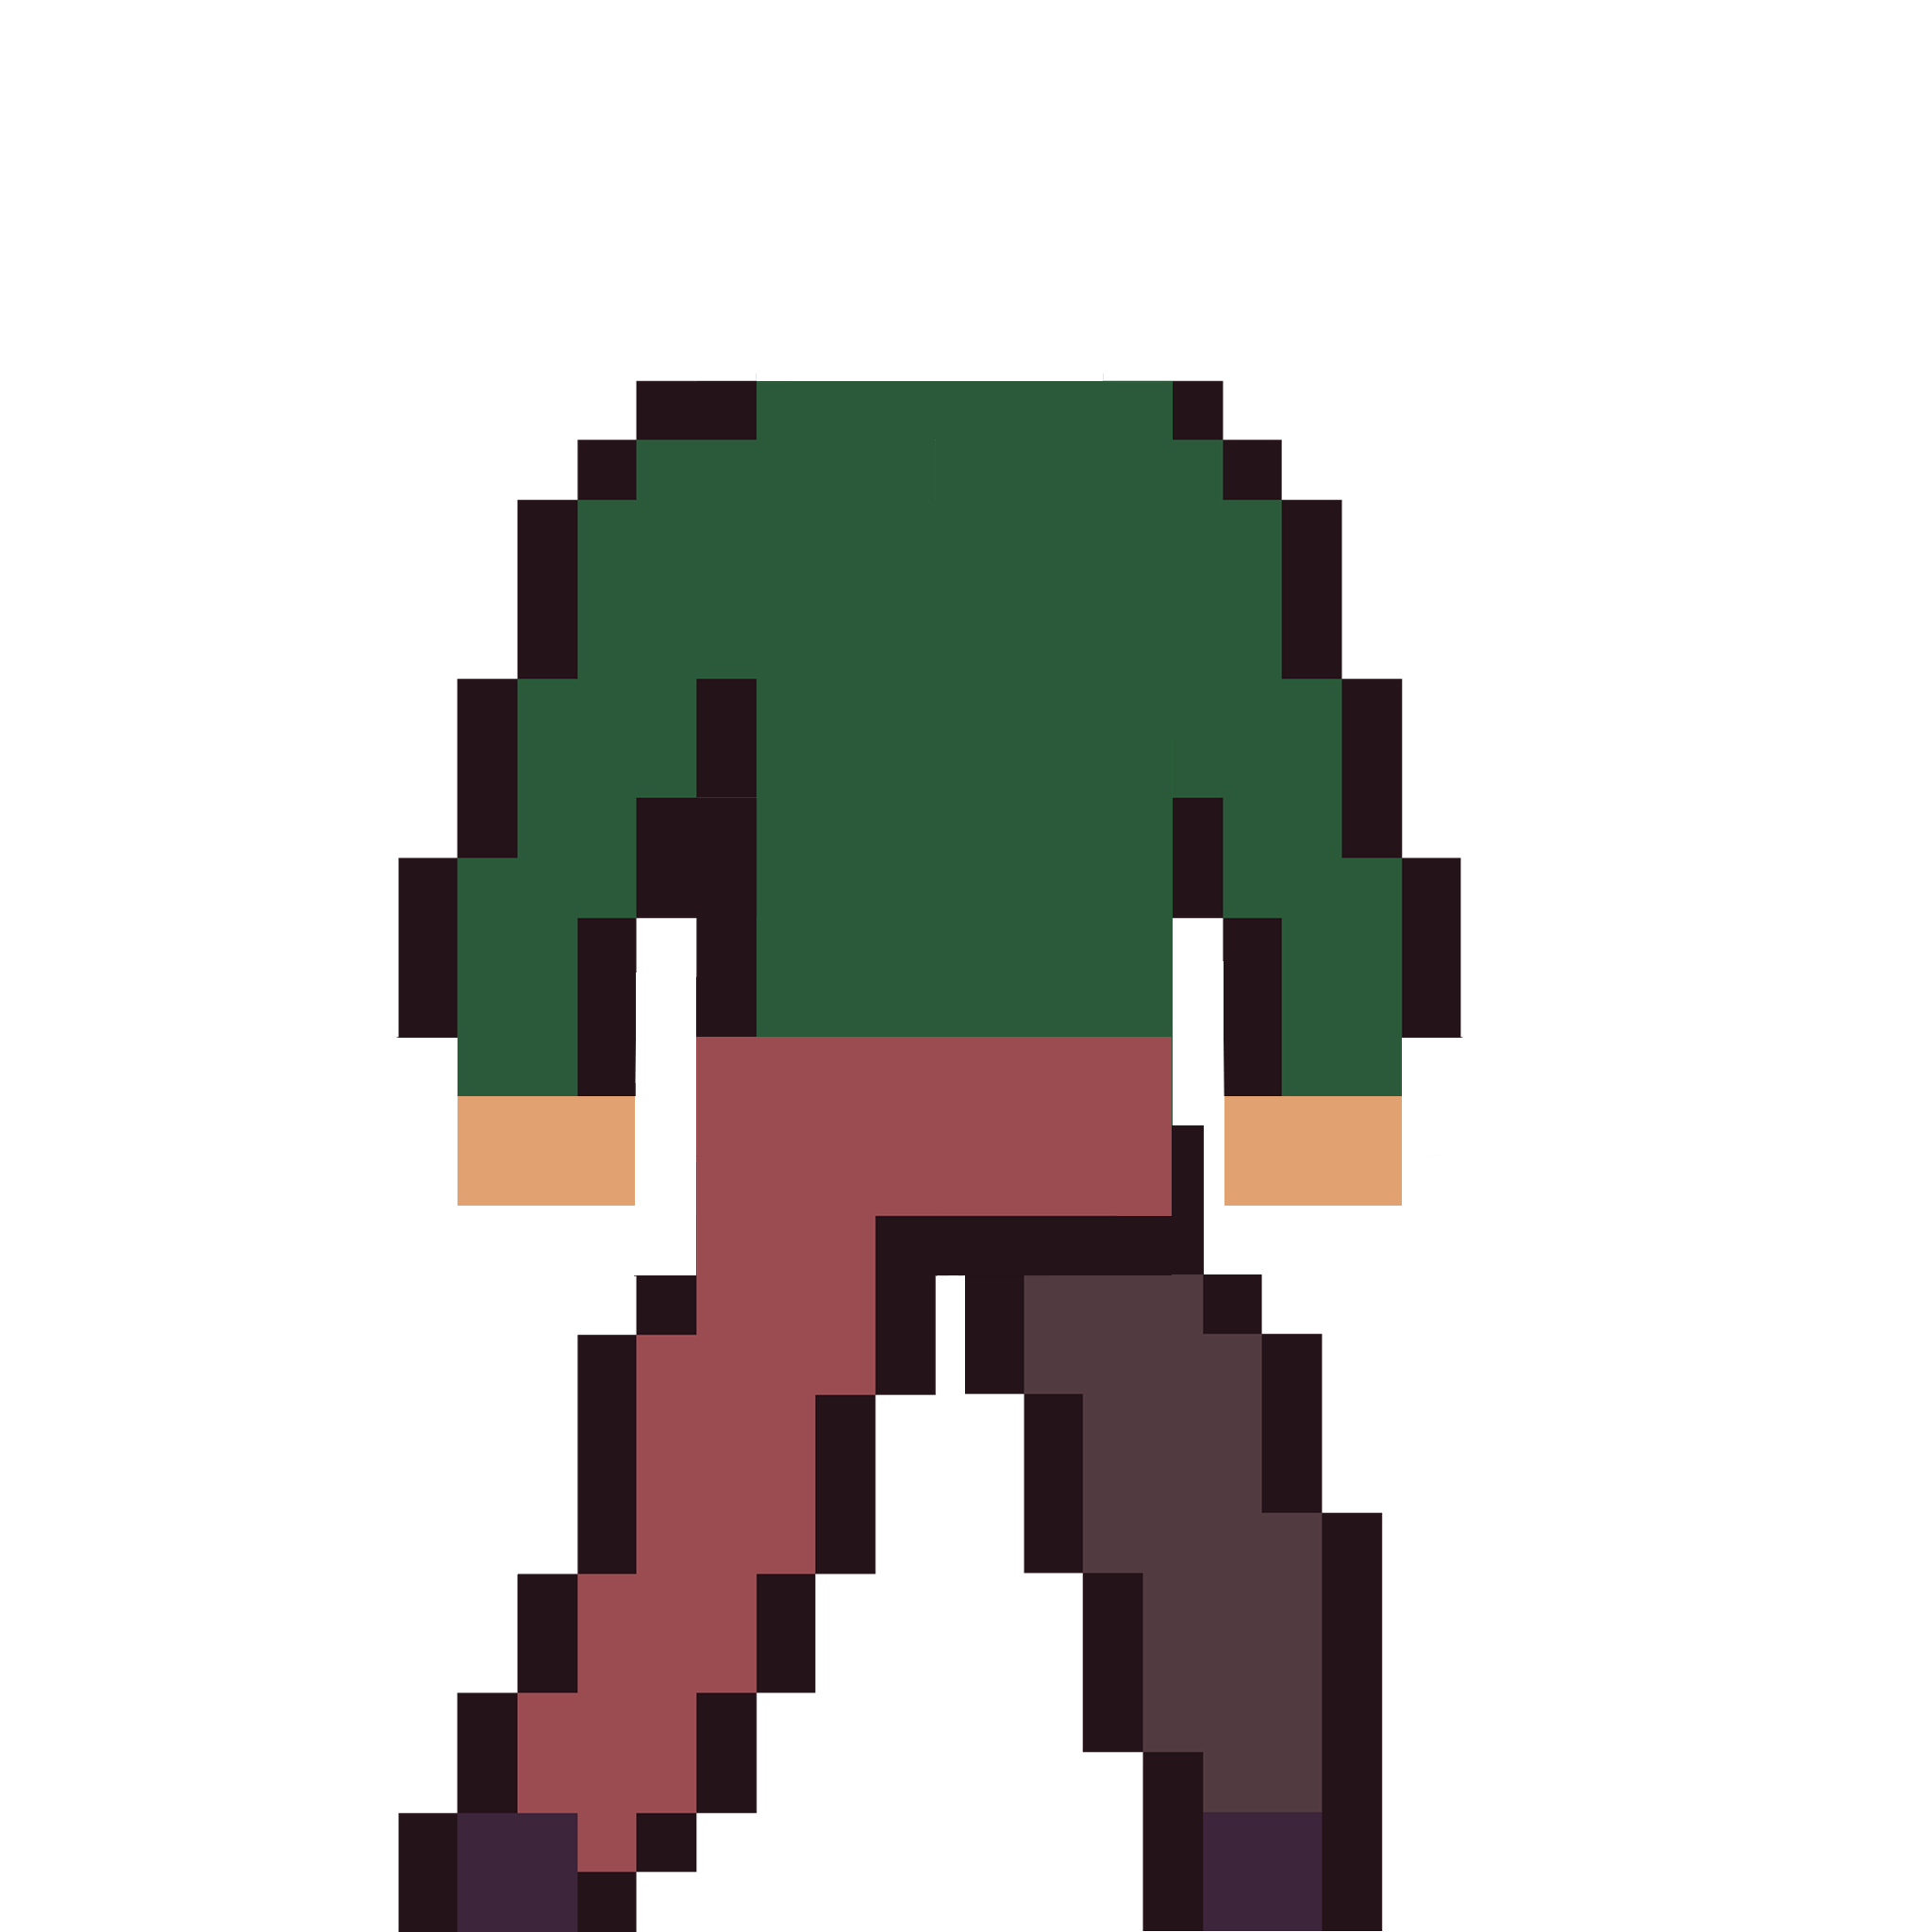
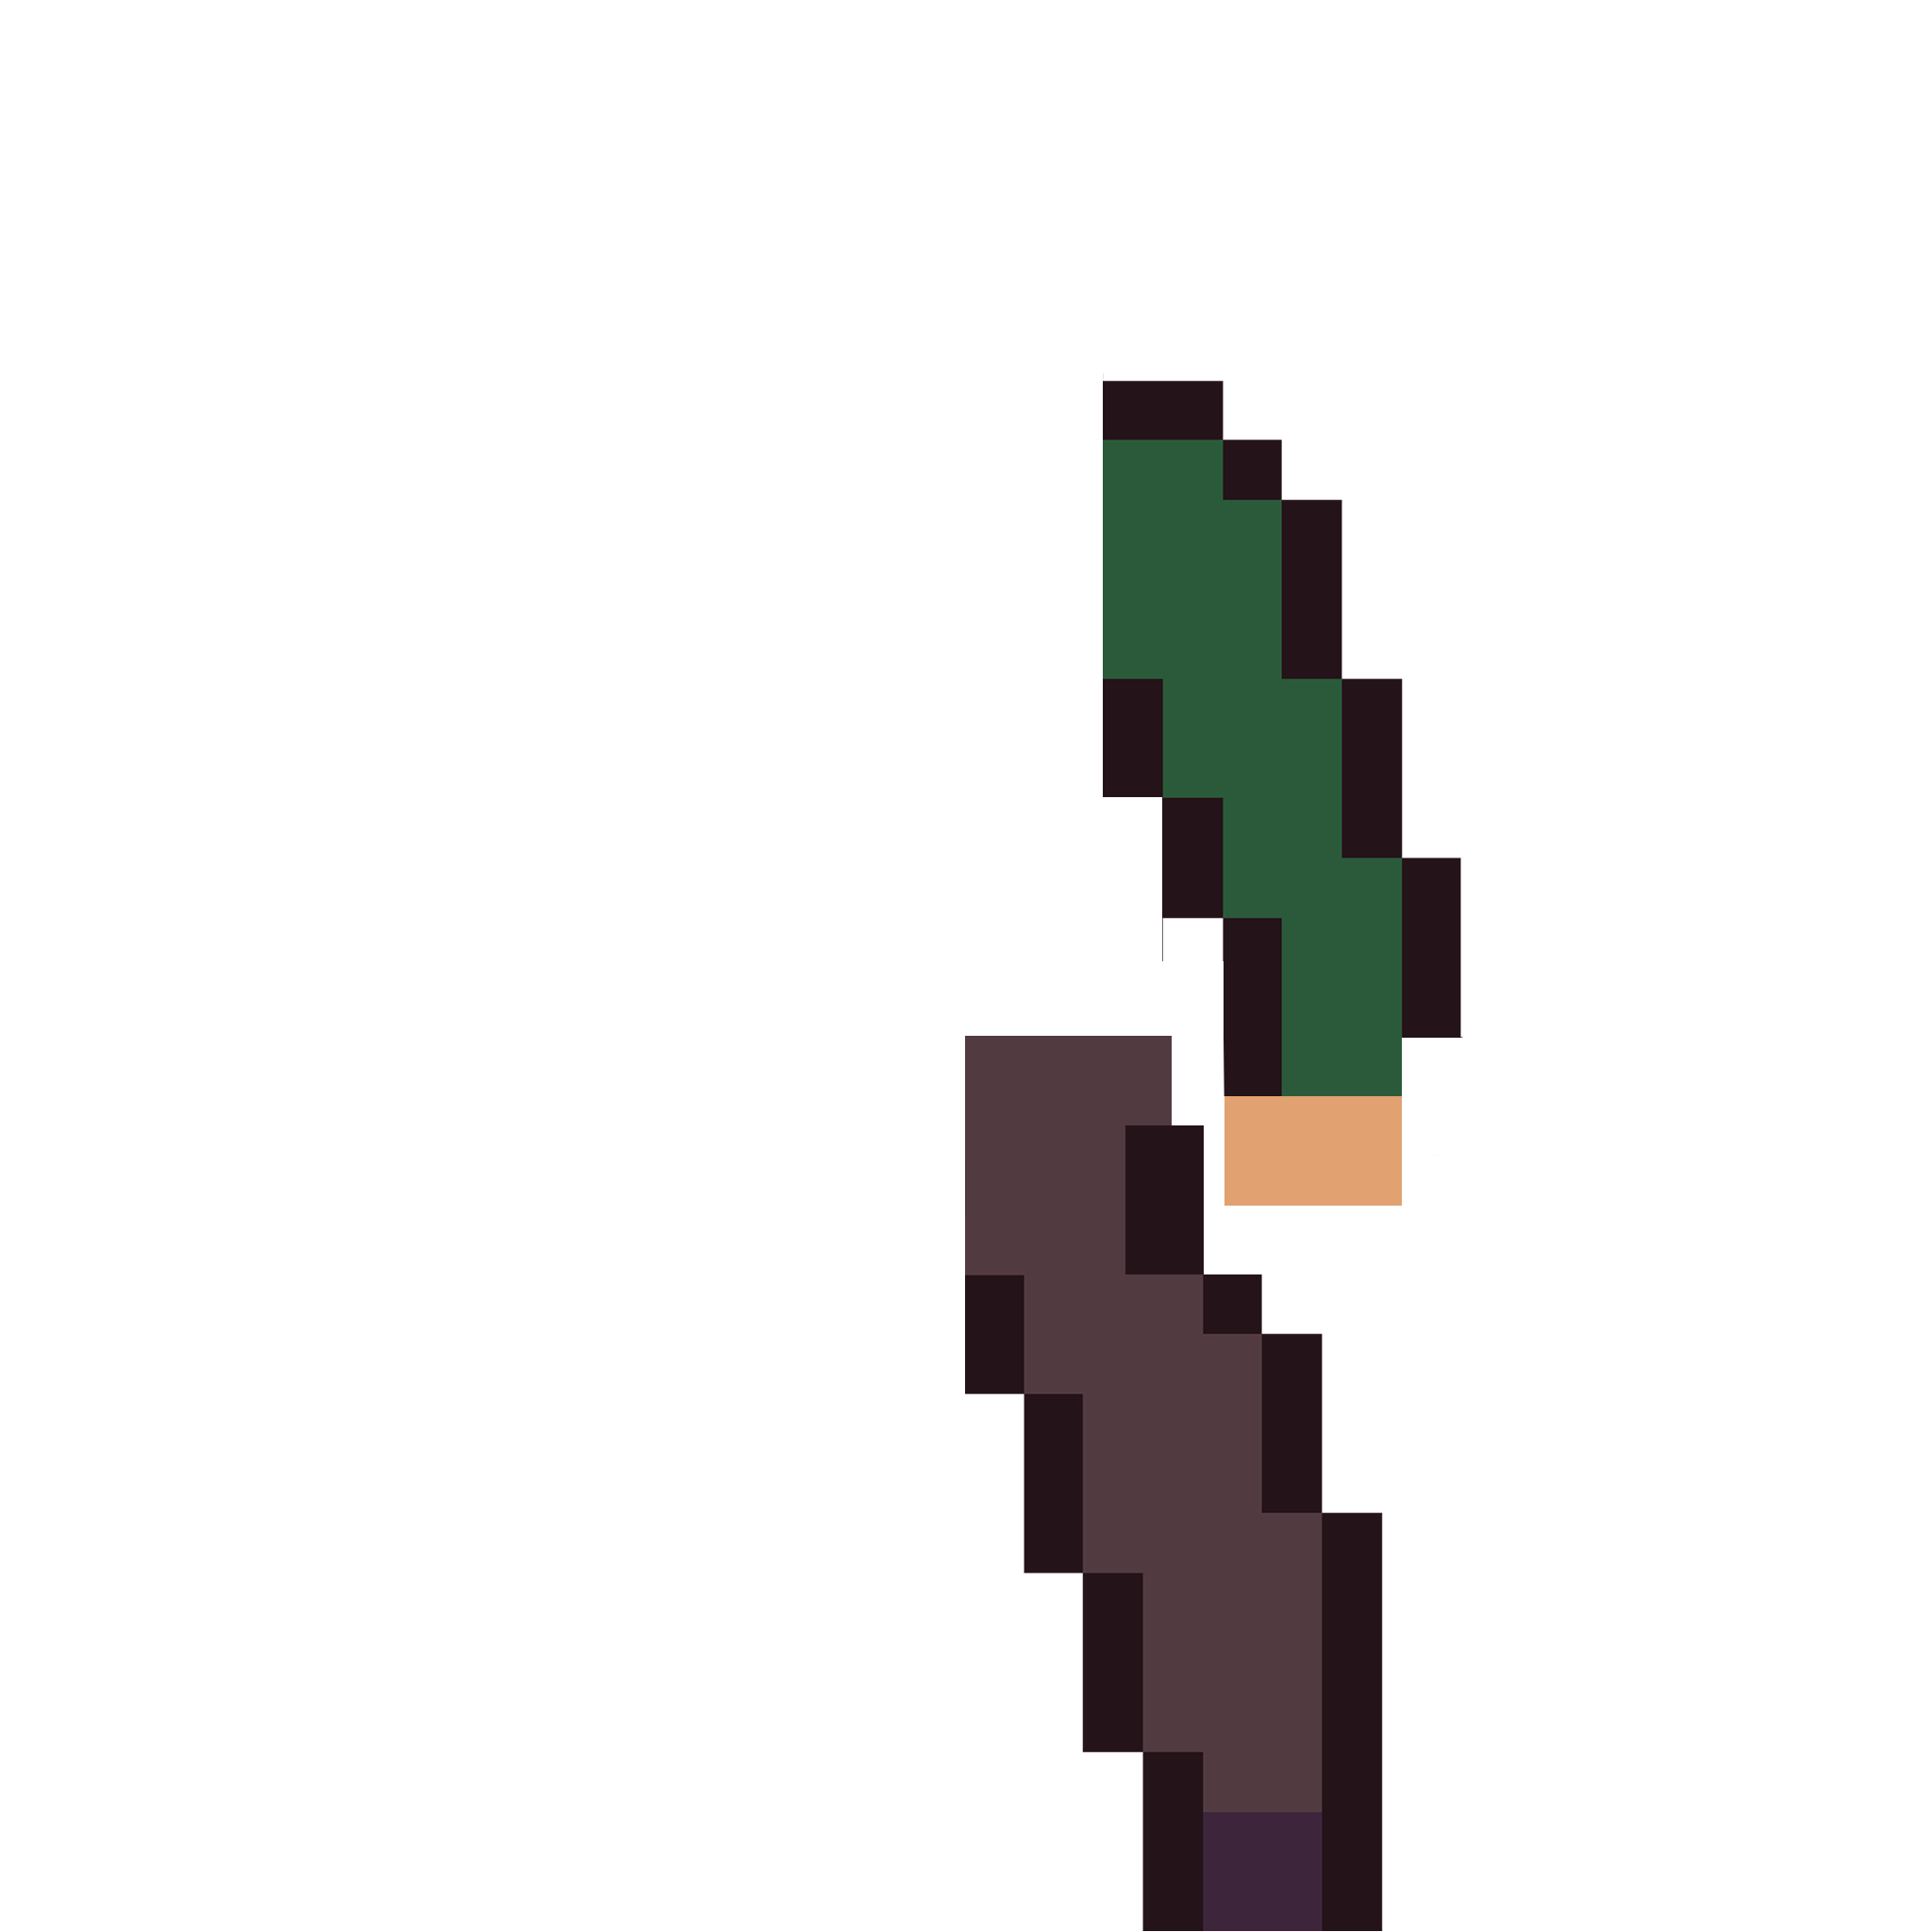
In this prototype, the character Woodcutter is used. 
(This character will not be used in our game, it is for testing purposes only)
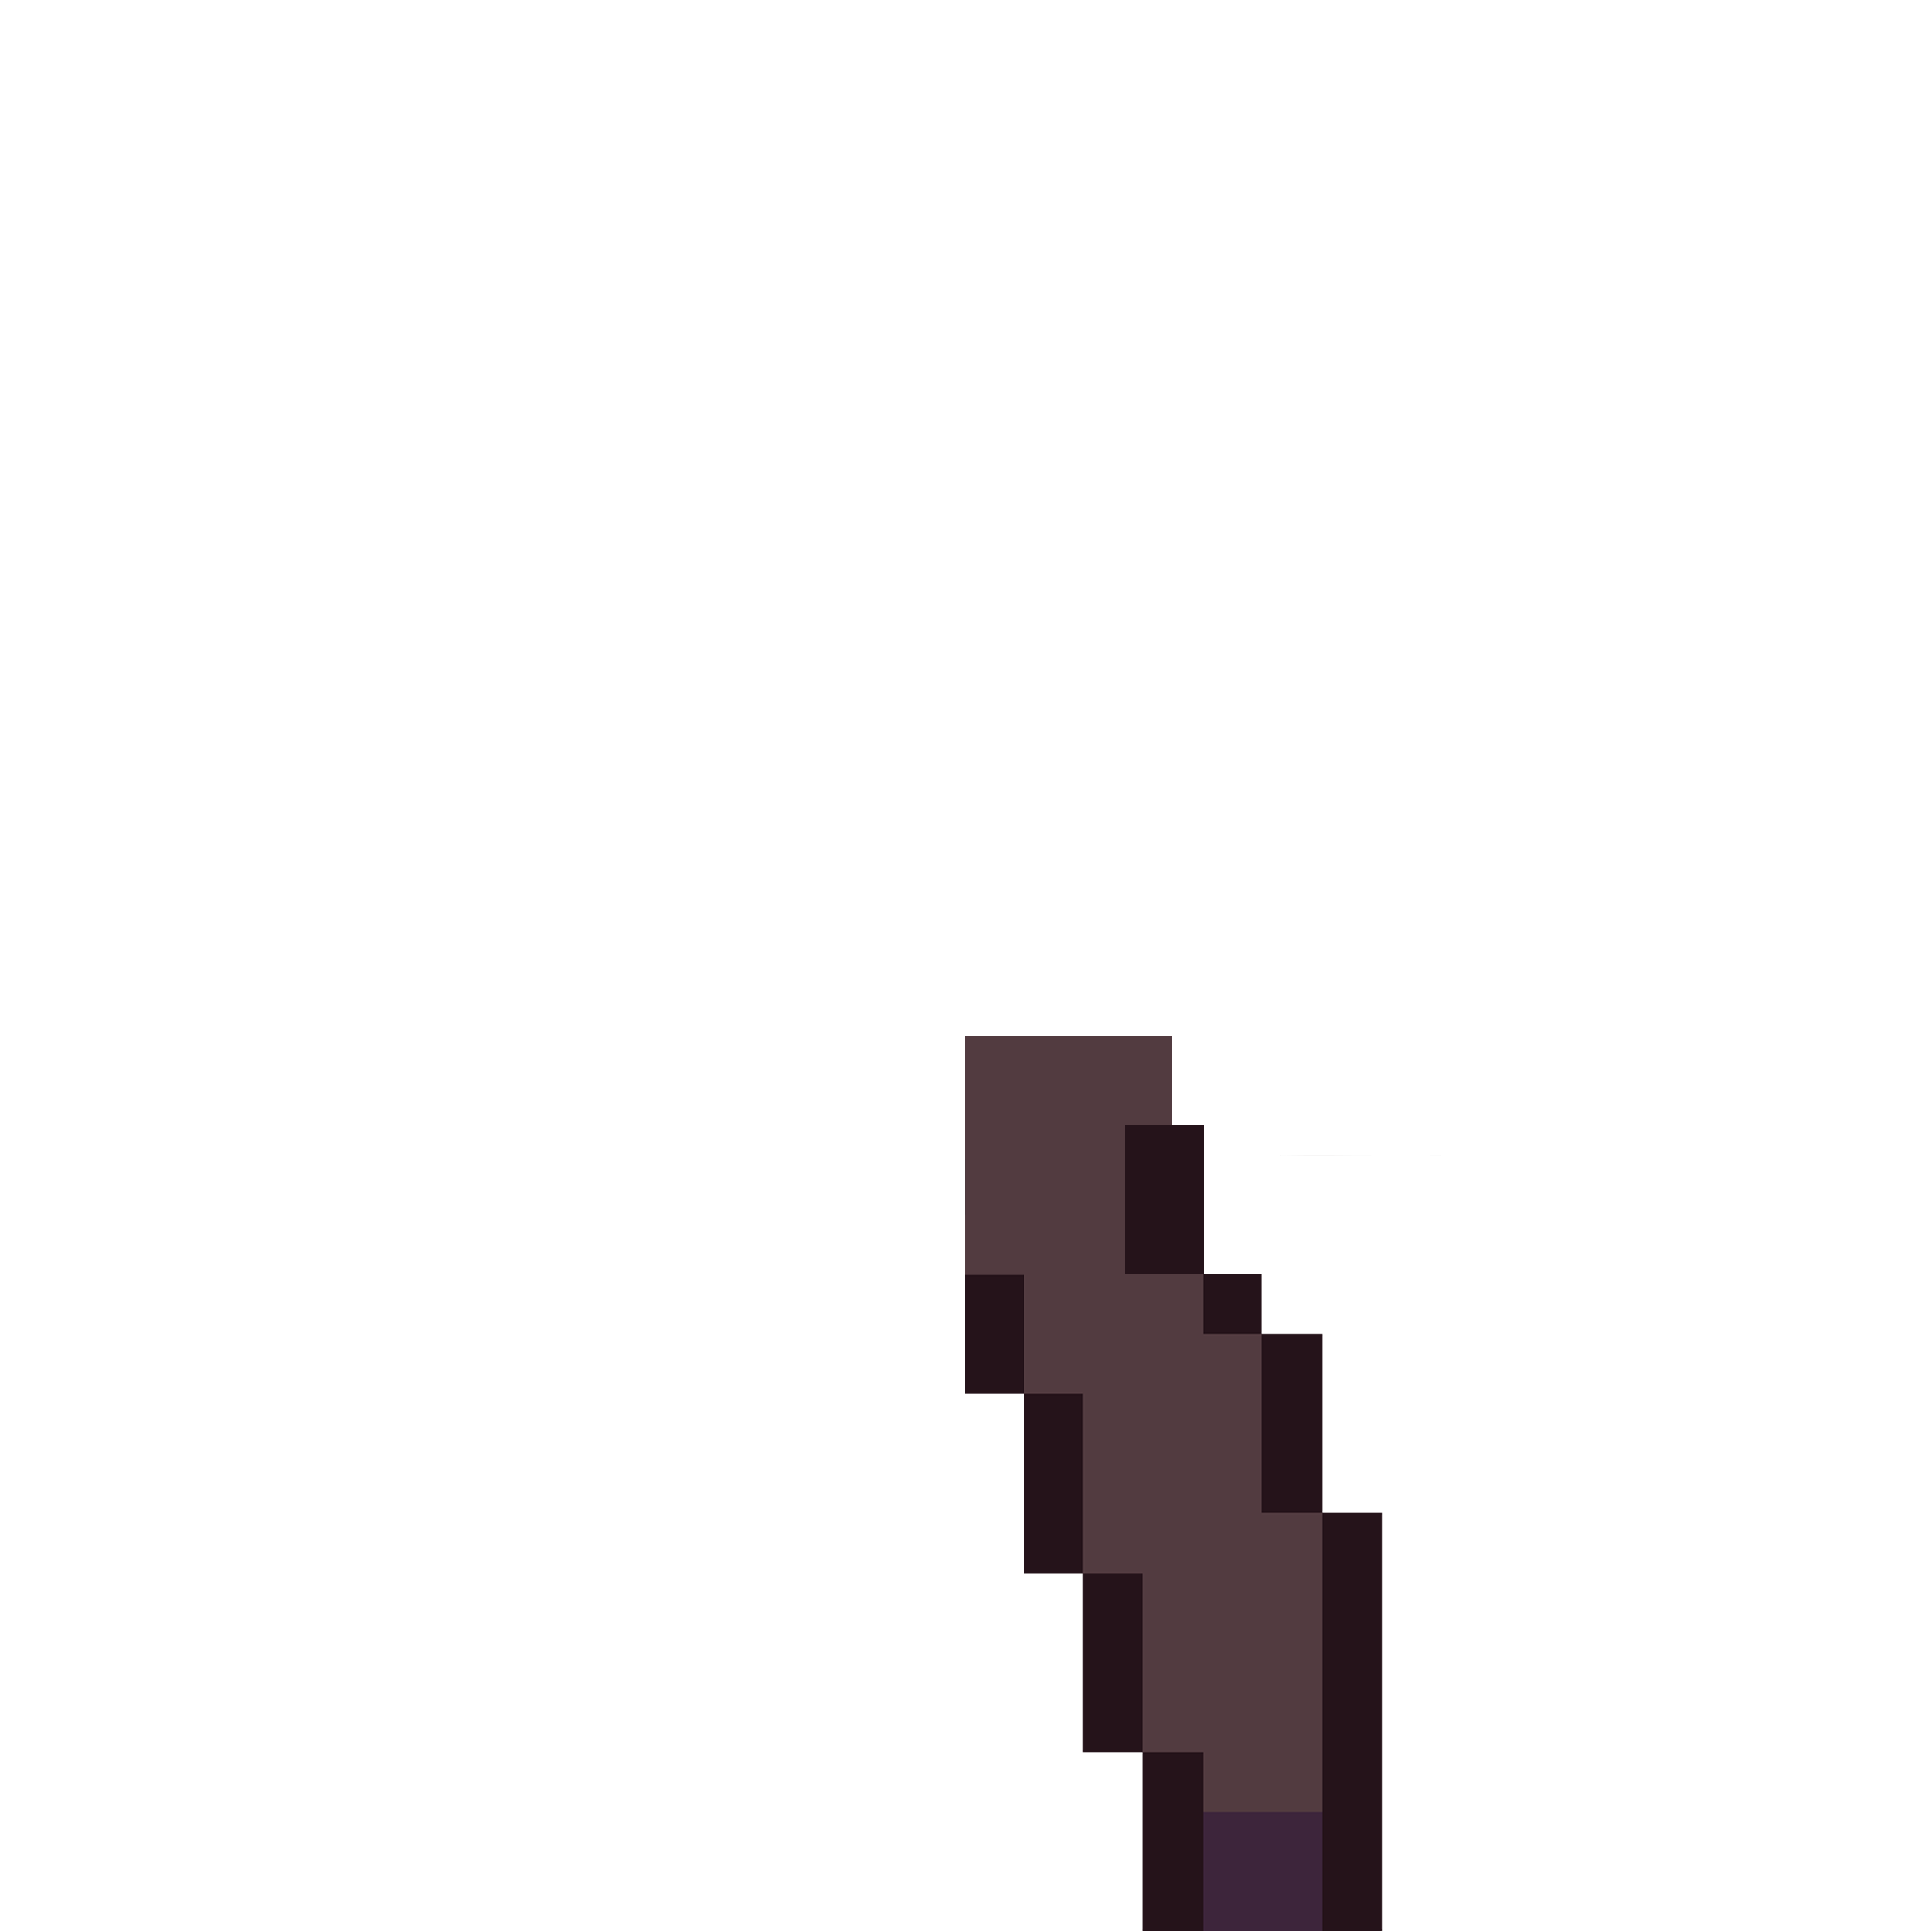
Step 1:
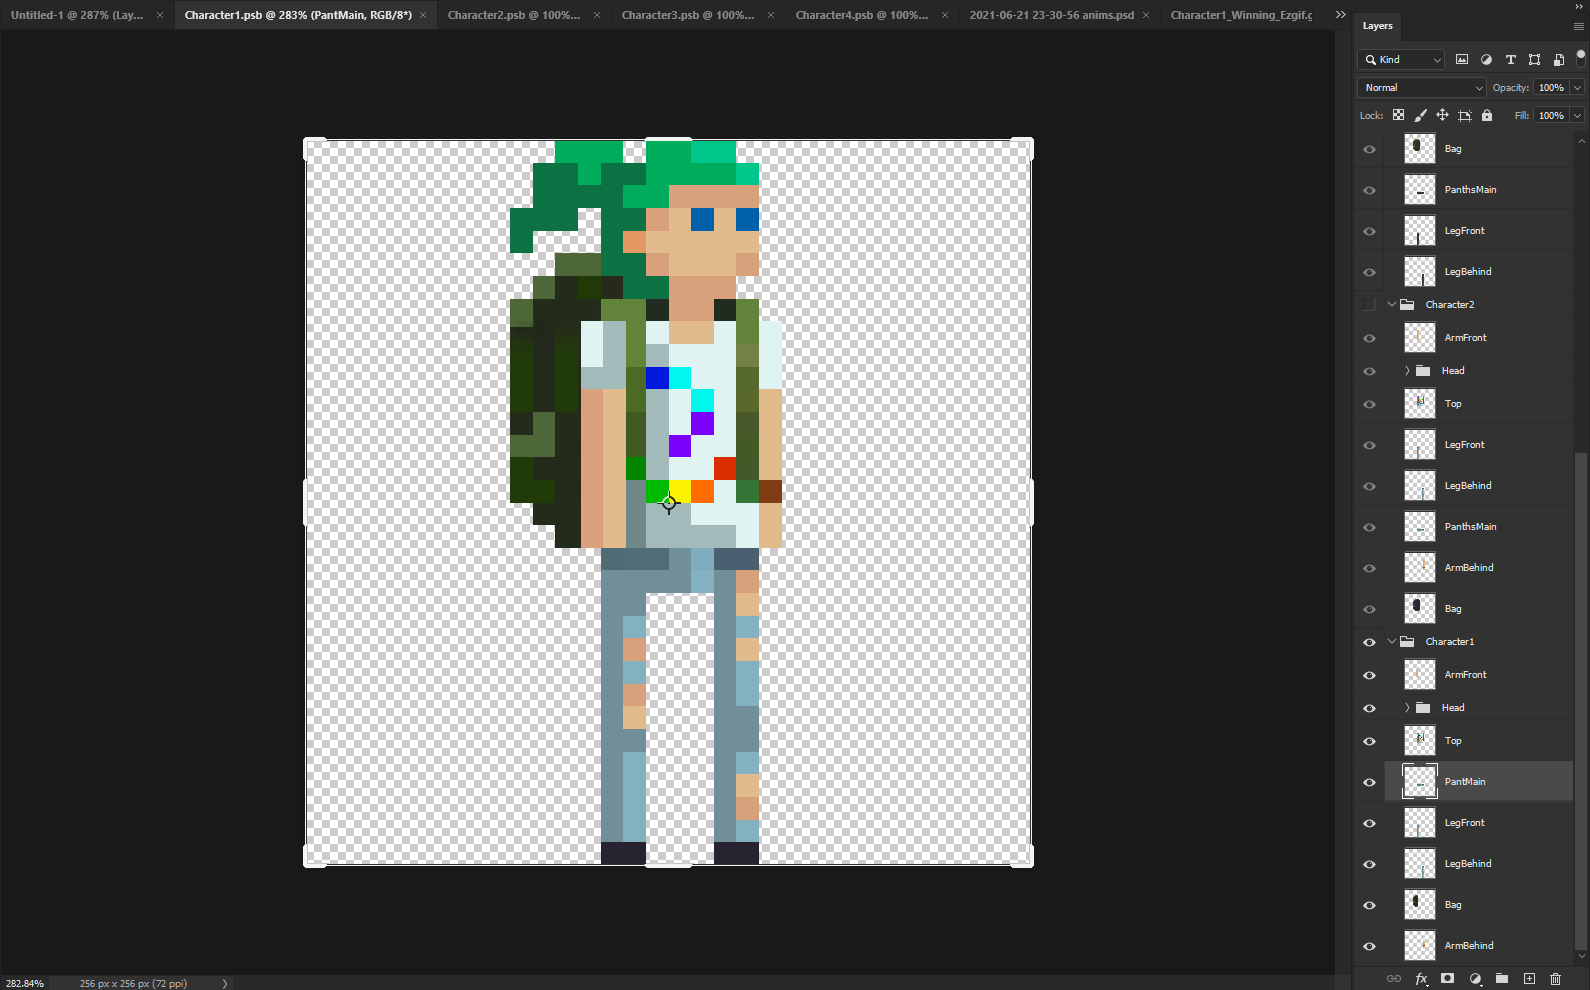
Image scaled up and layers seperated/repainted missing parts in the Photoshop.
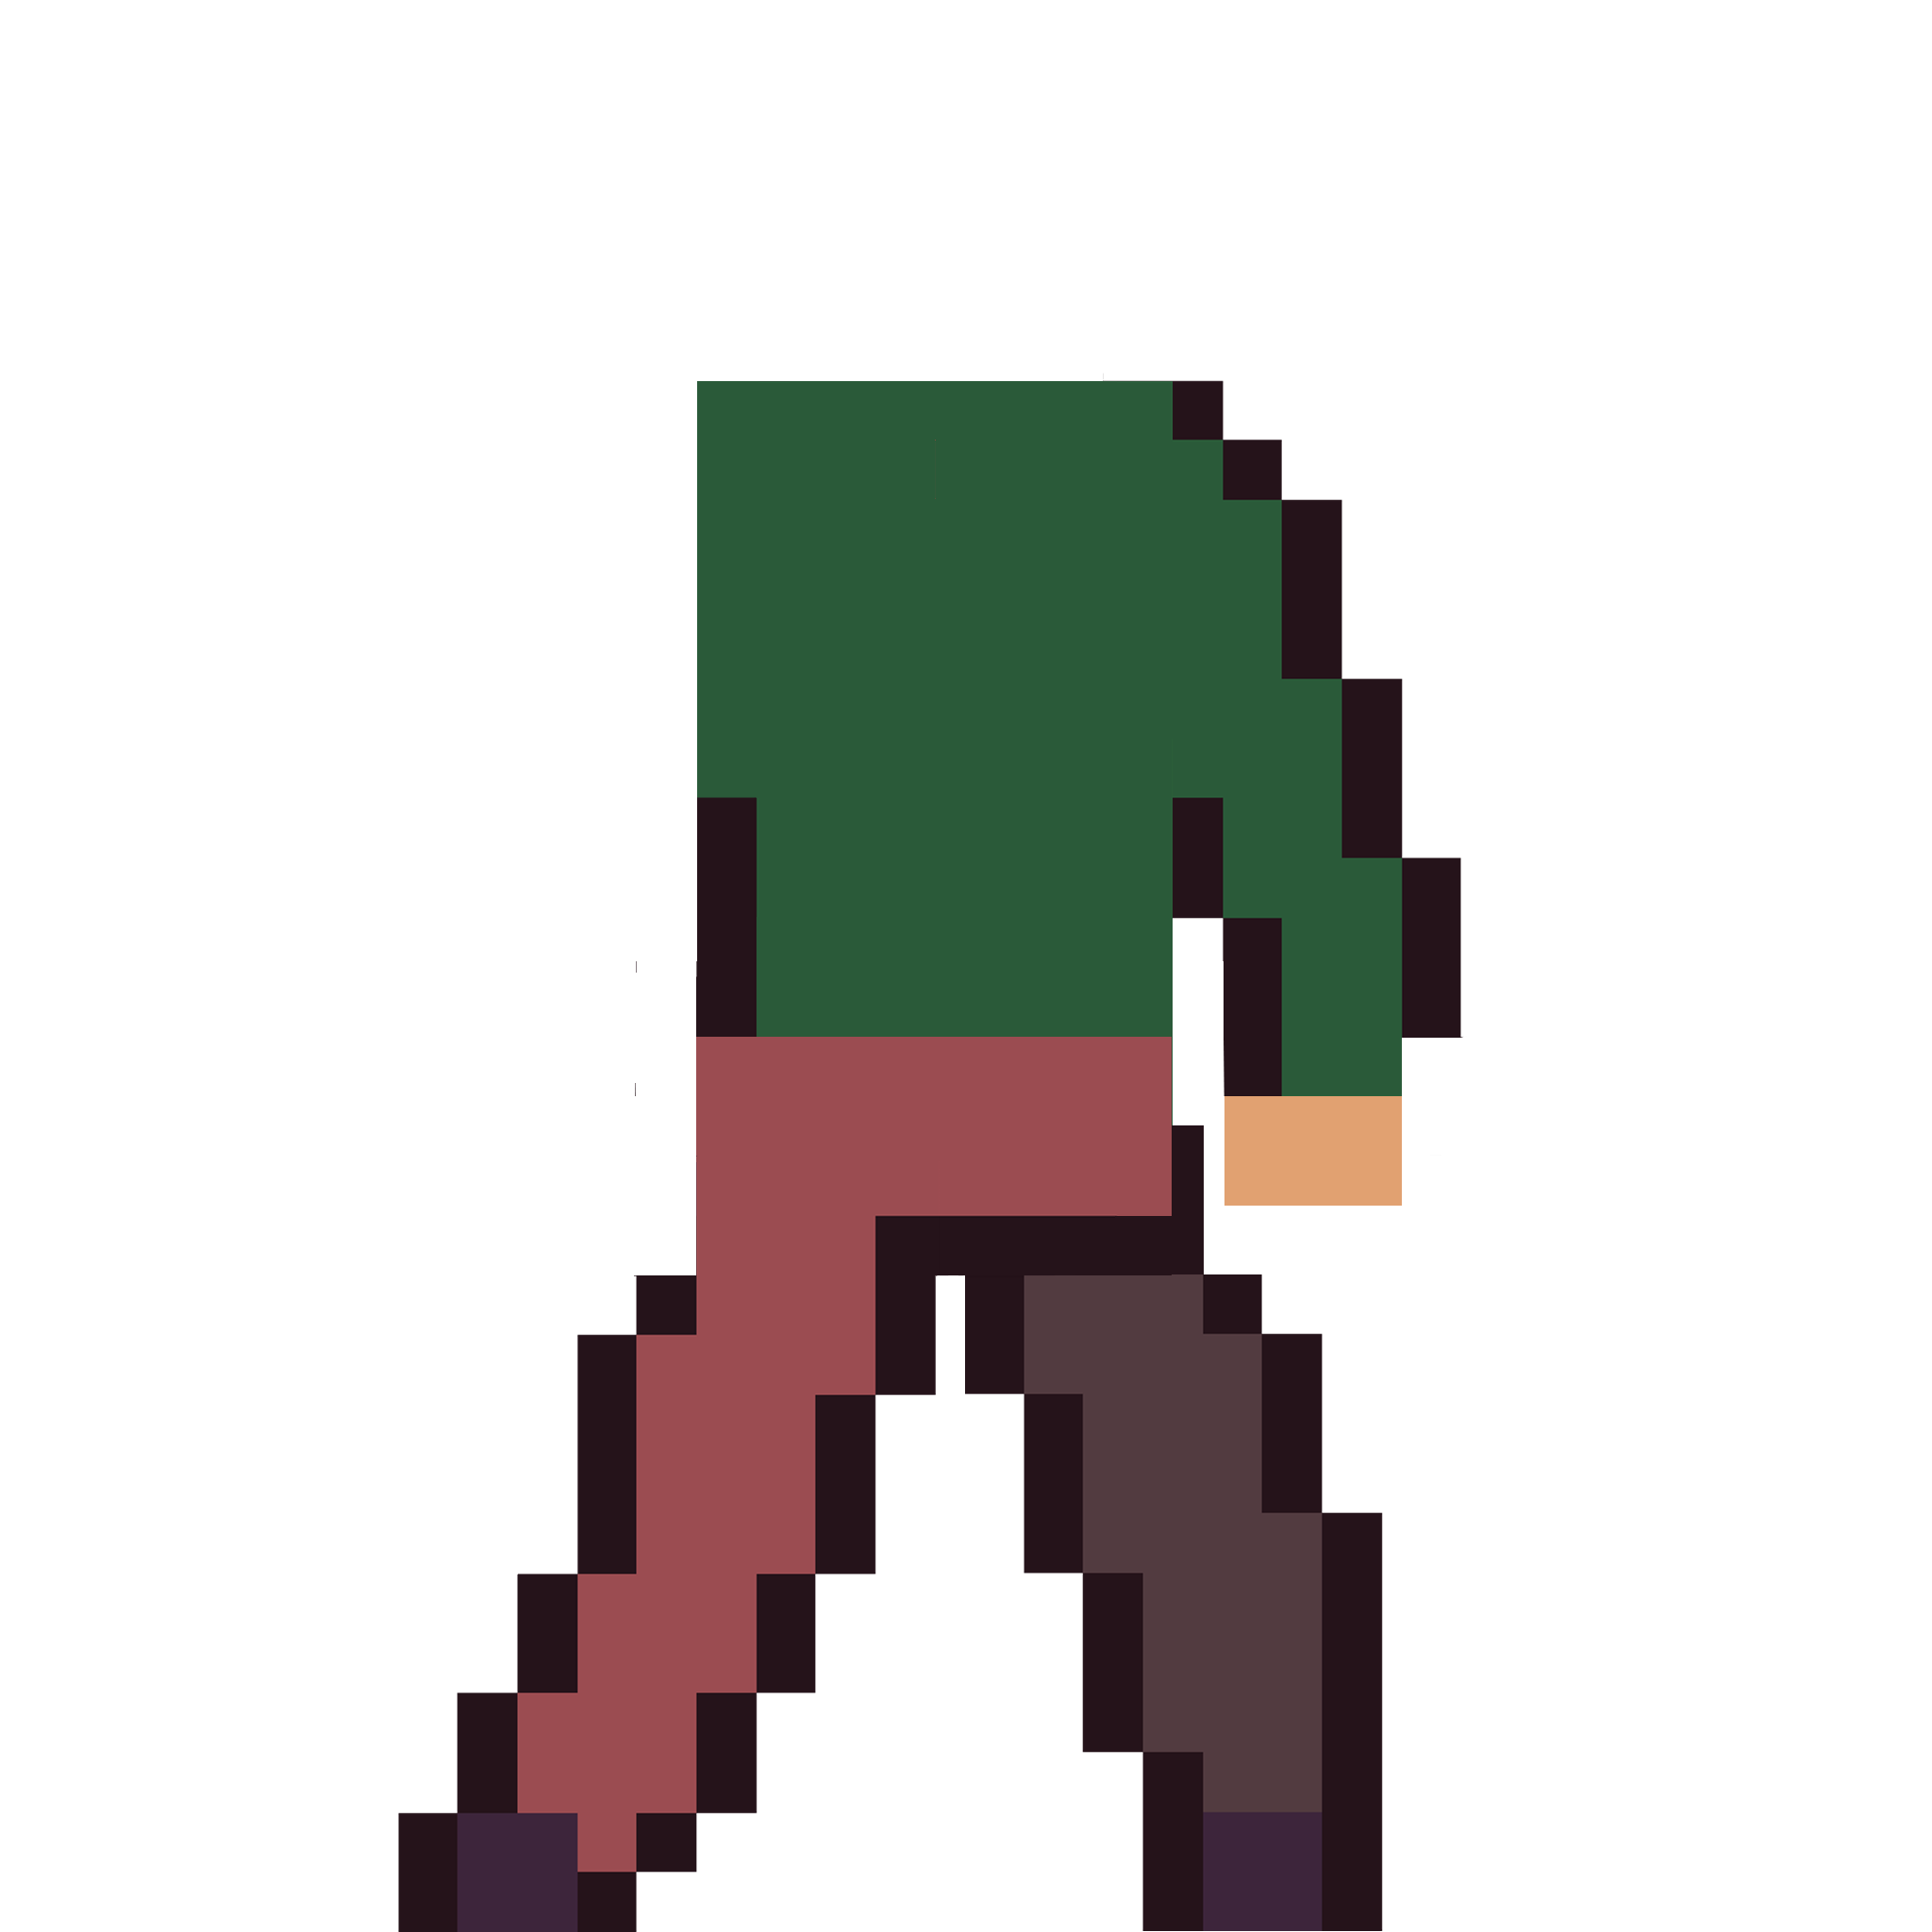
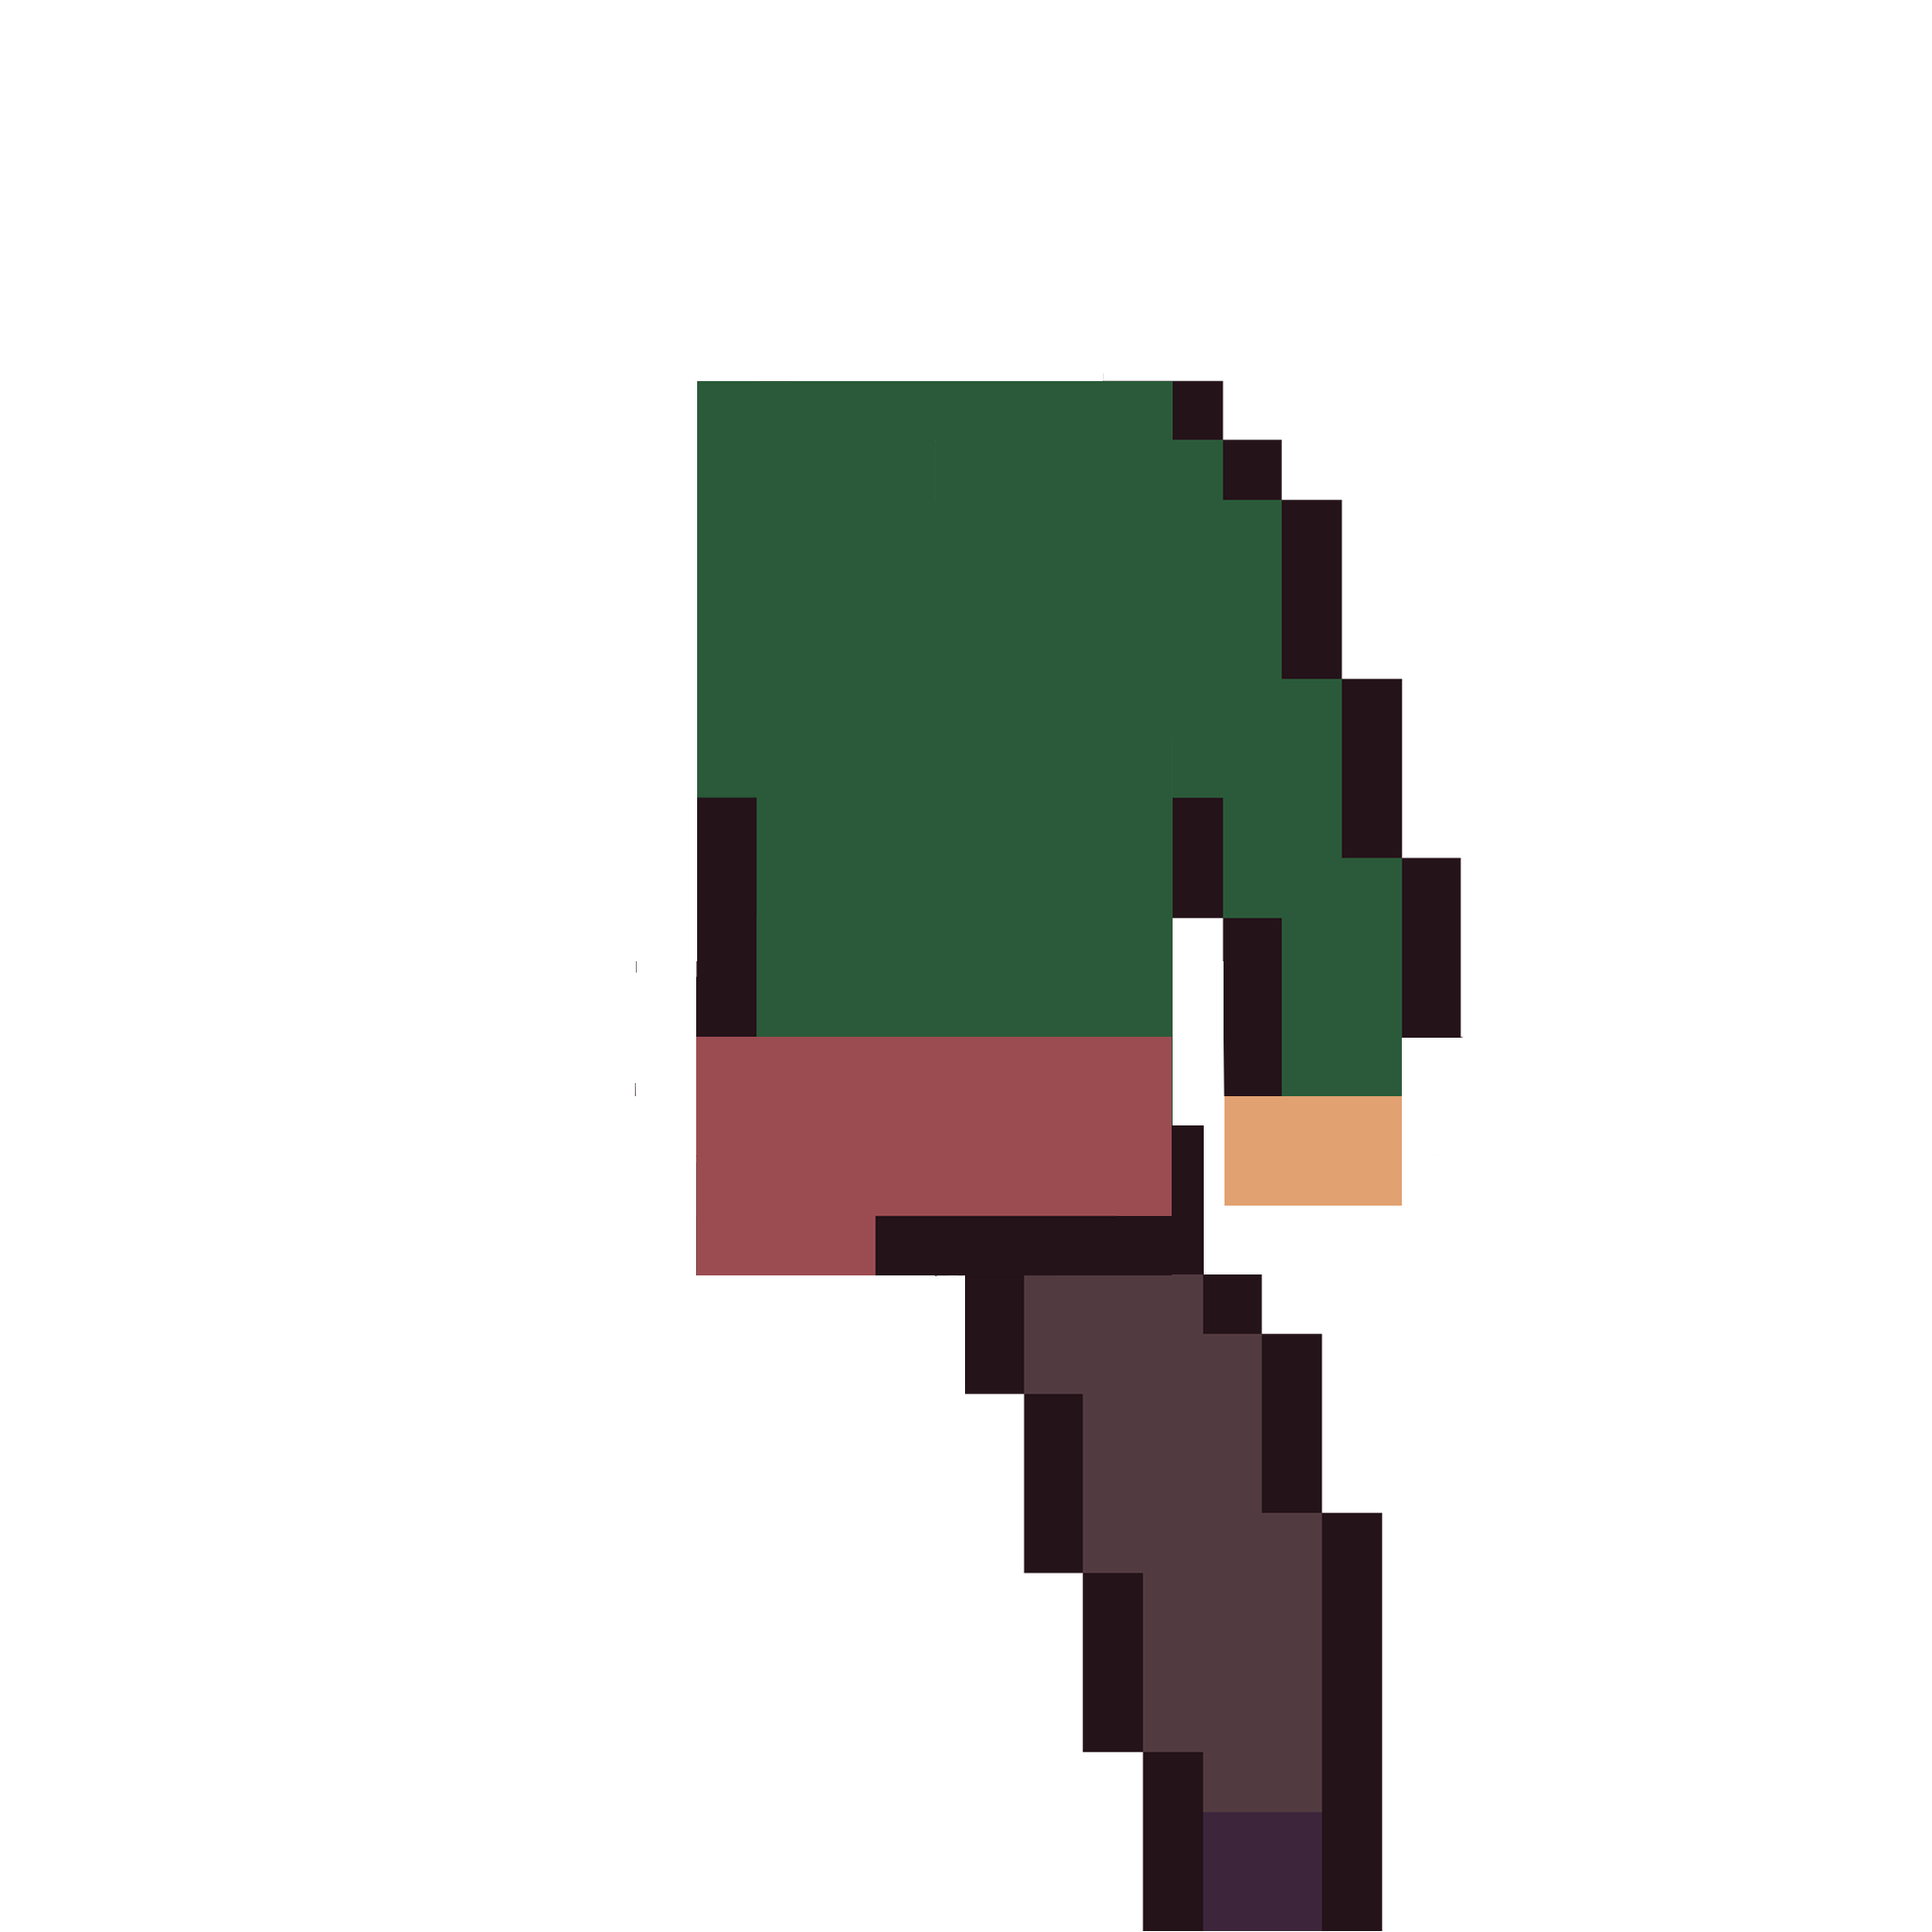
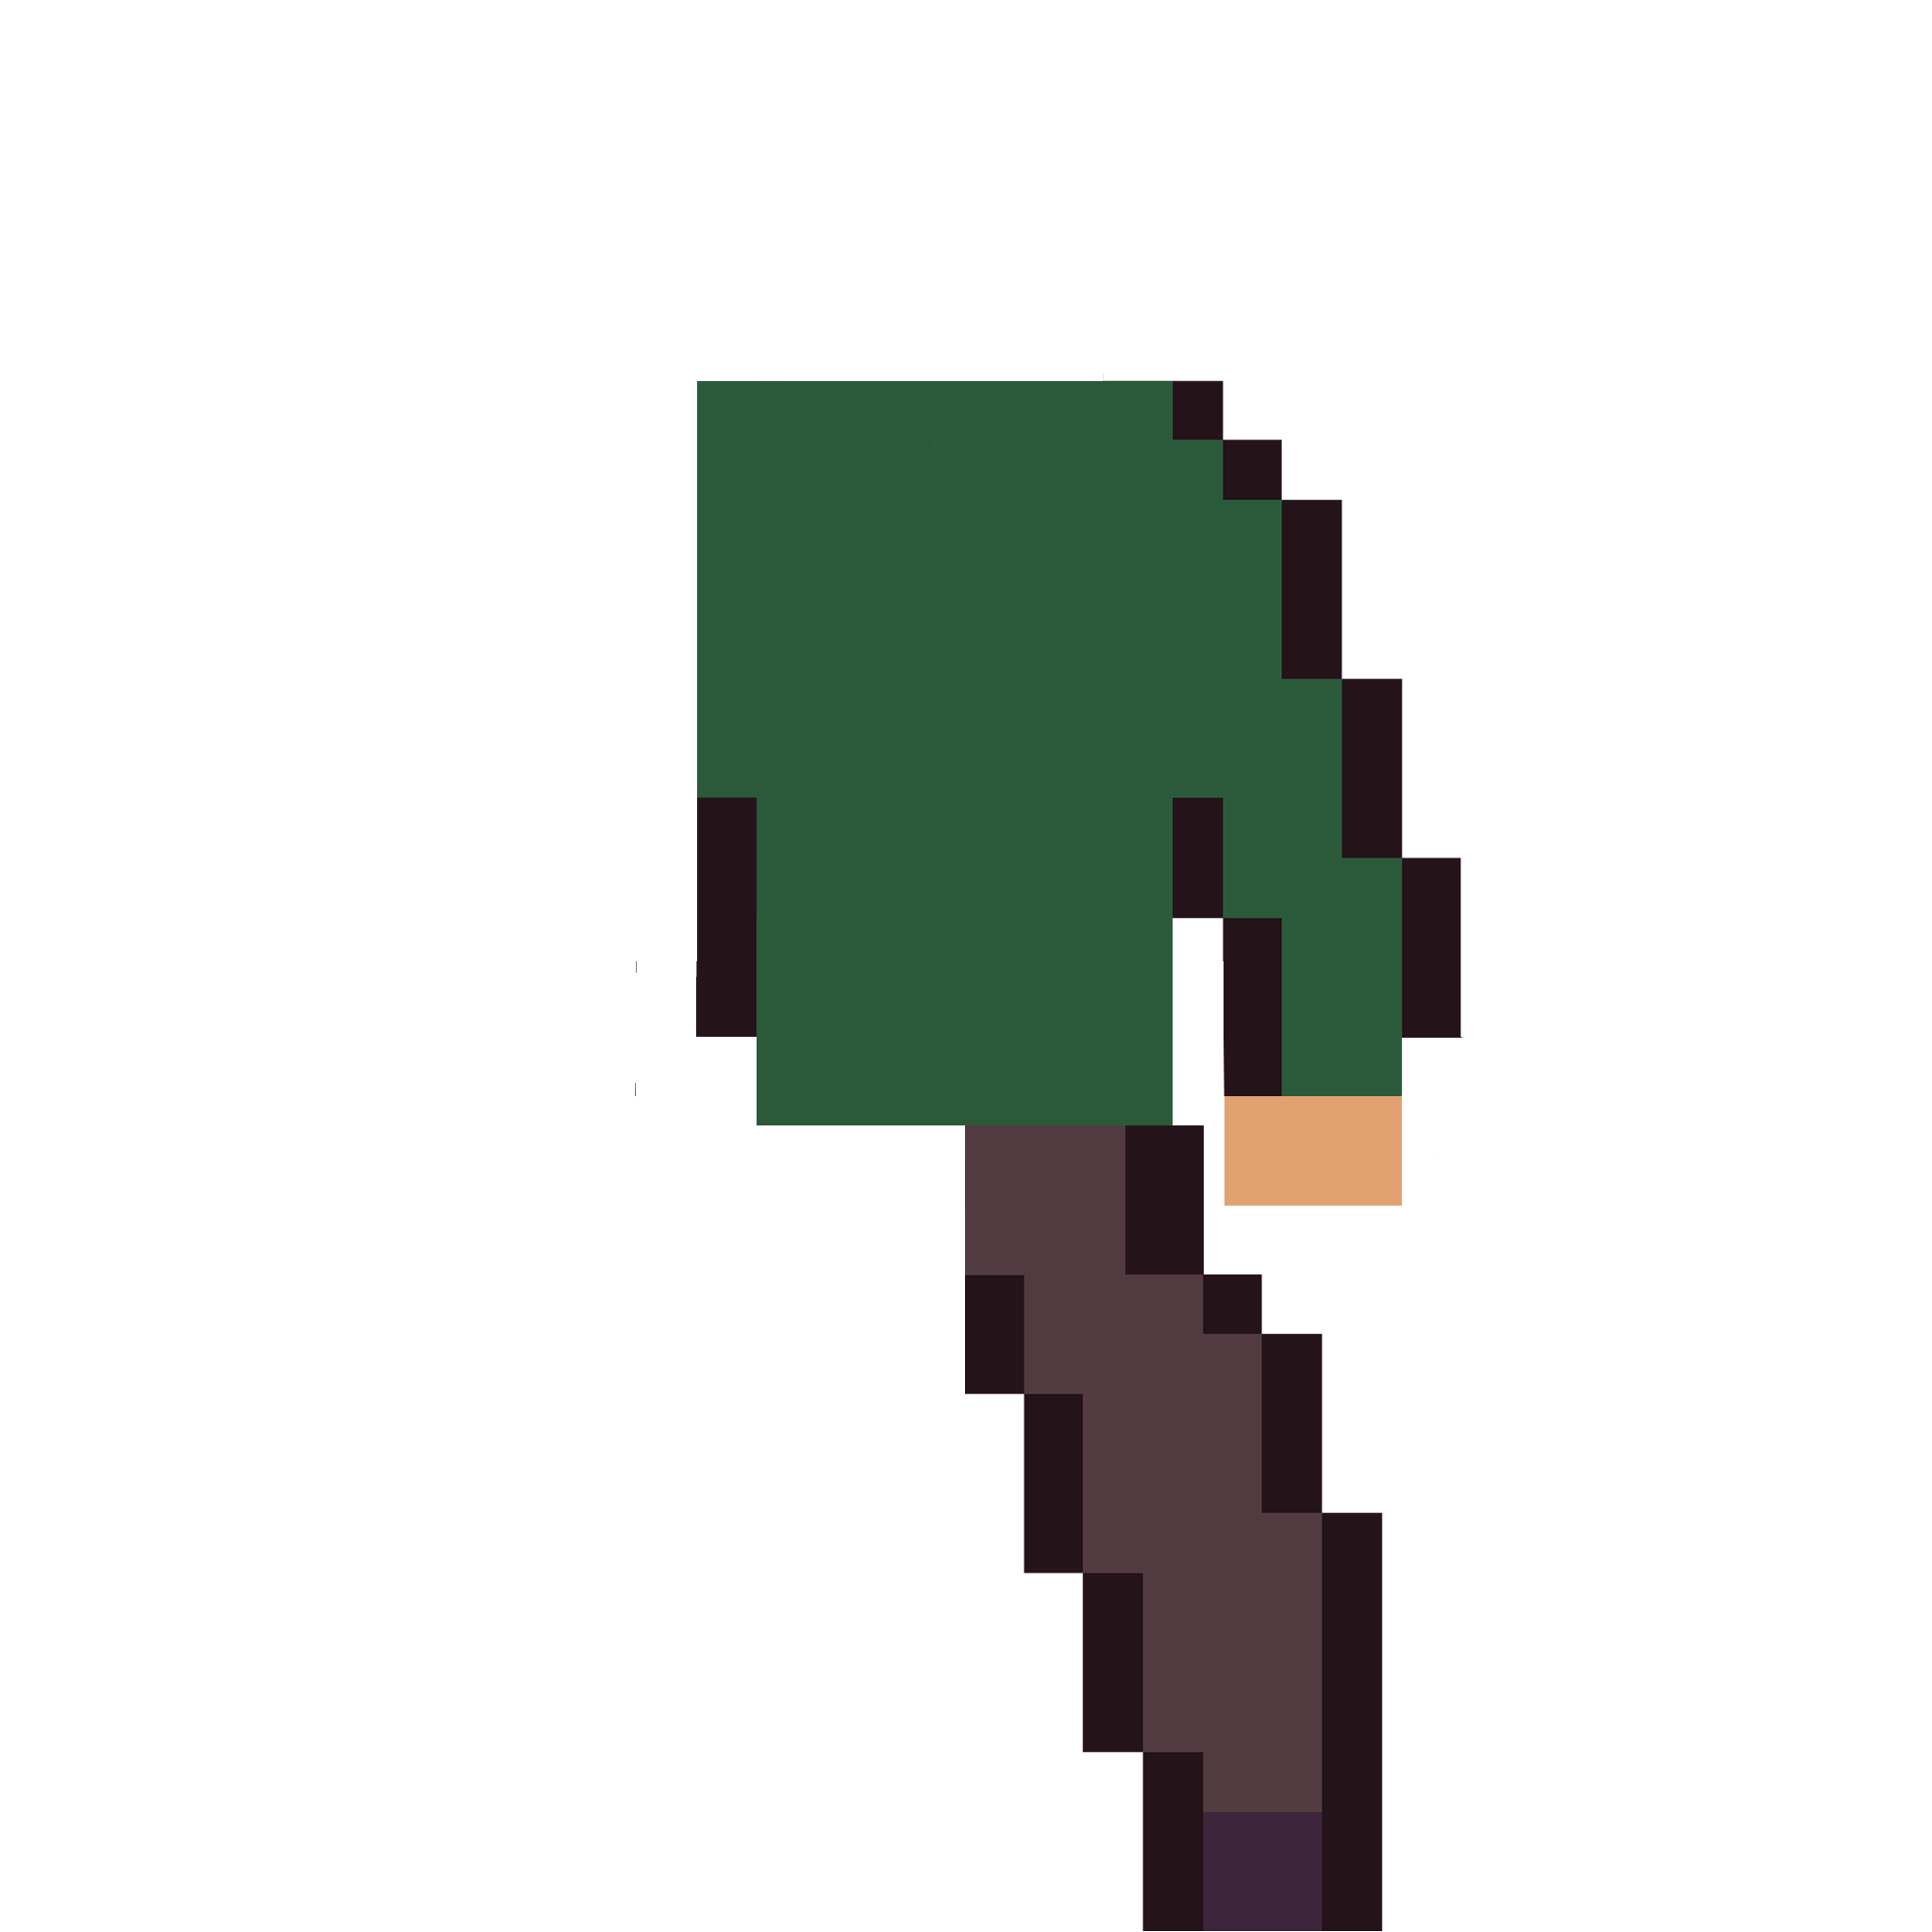
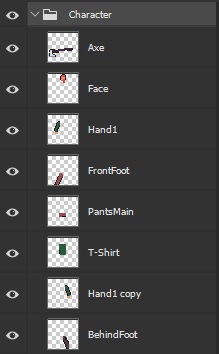
Photoshop Layers:
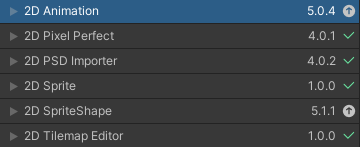
Saved as PSB file and imported into Unity.
Unity Packages:
Step 2:
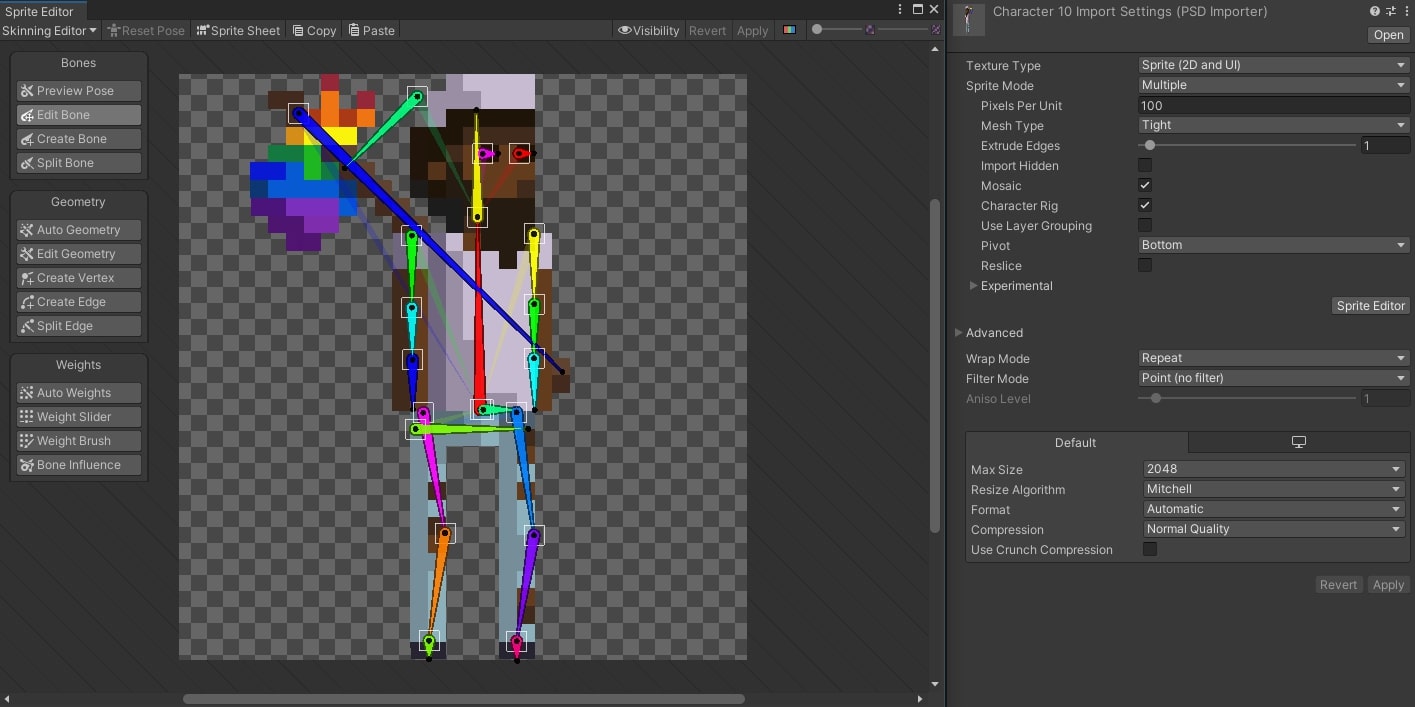
Sliced in the Sprite Editor.
Step 3:
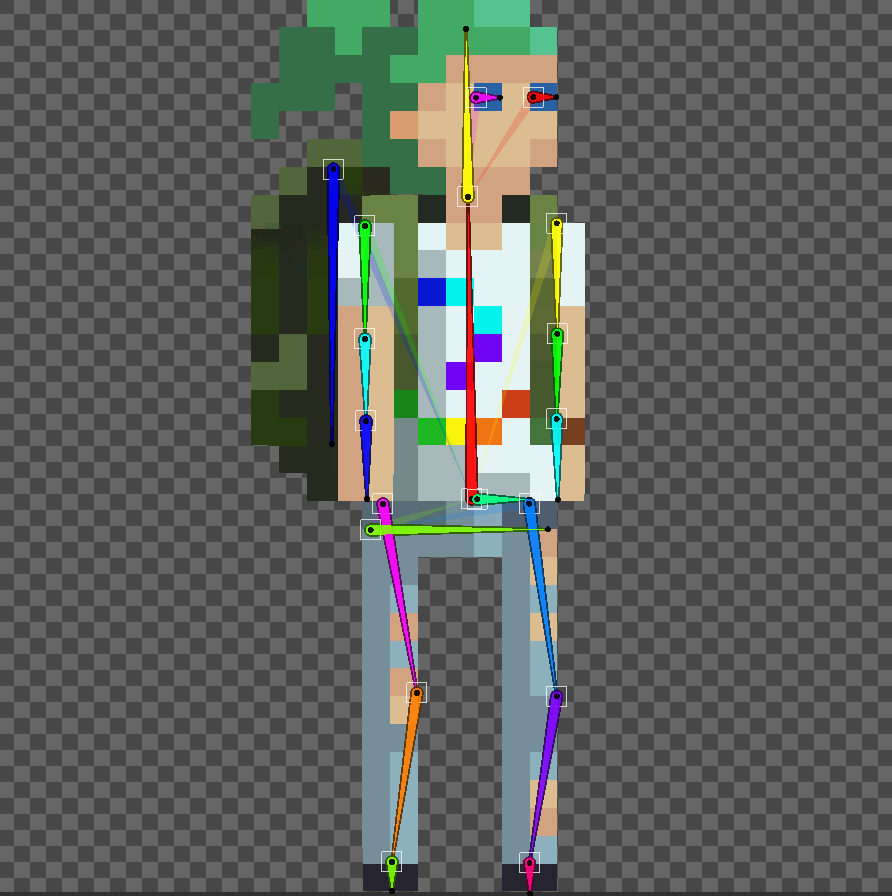
Bones created in the Skinning Editor.
Step 4:
Geometry created in the Skinning Editor.
Step 5:
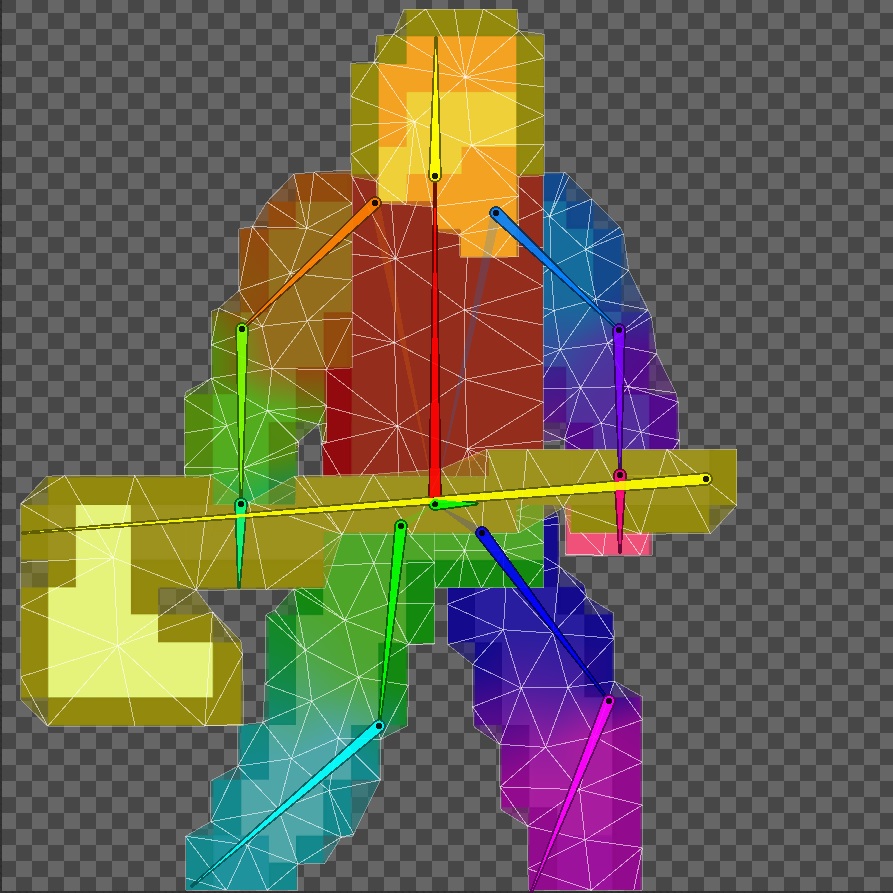
Weights adjusted in the Skinning Editor.
Step 6:
Bones renamed and reordered, depths adjusted.
Step 7:
FK bones tested.
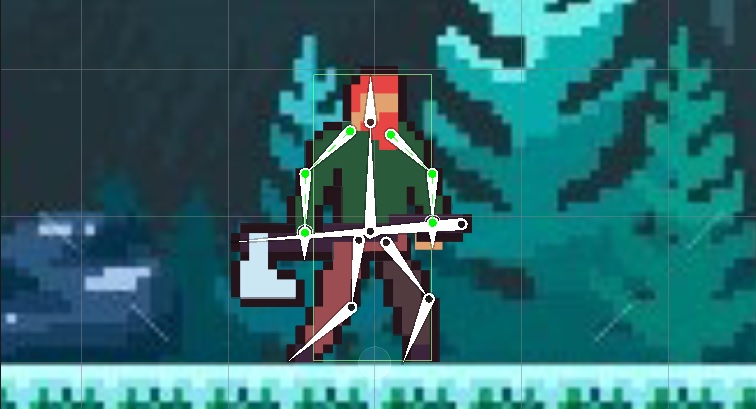
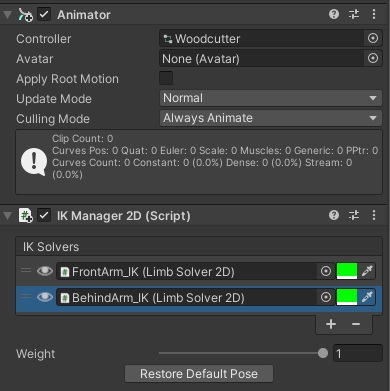
IK added to arms.
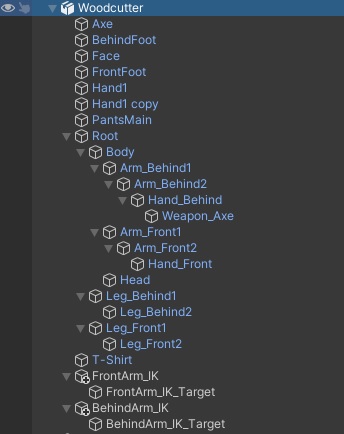
Hierarchy Preview:
Step 8:
Test animations created.
Idle Preview:
Run Preview:
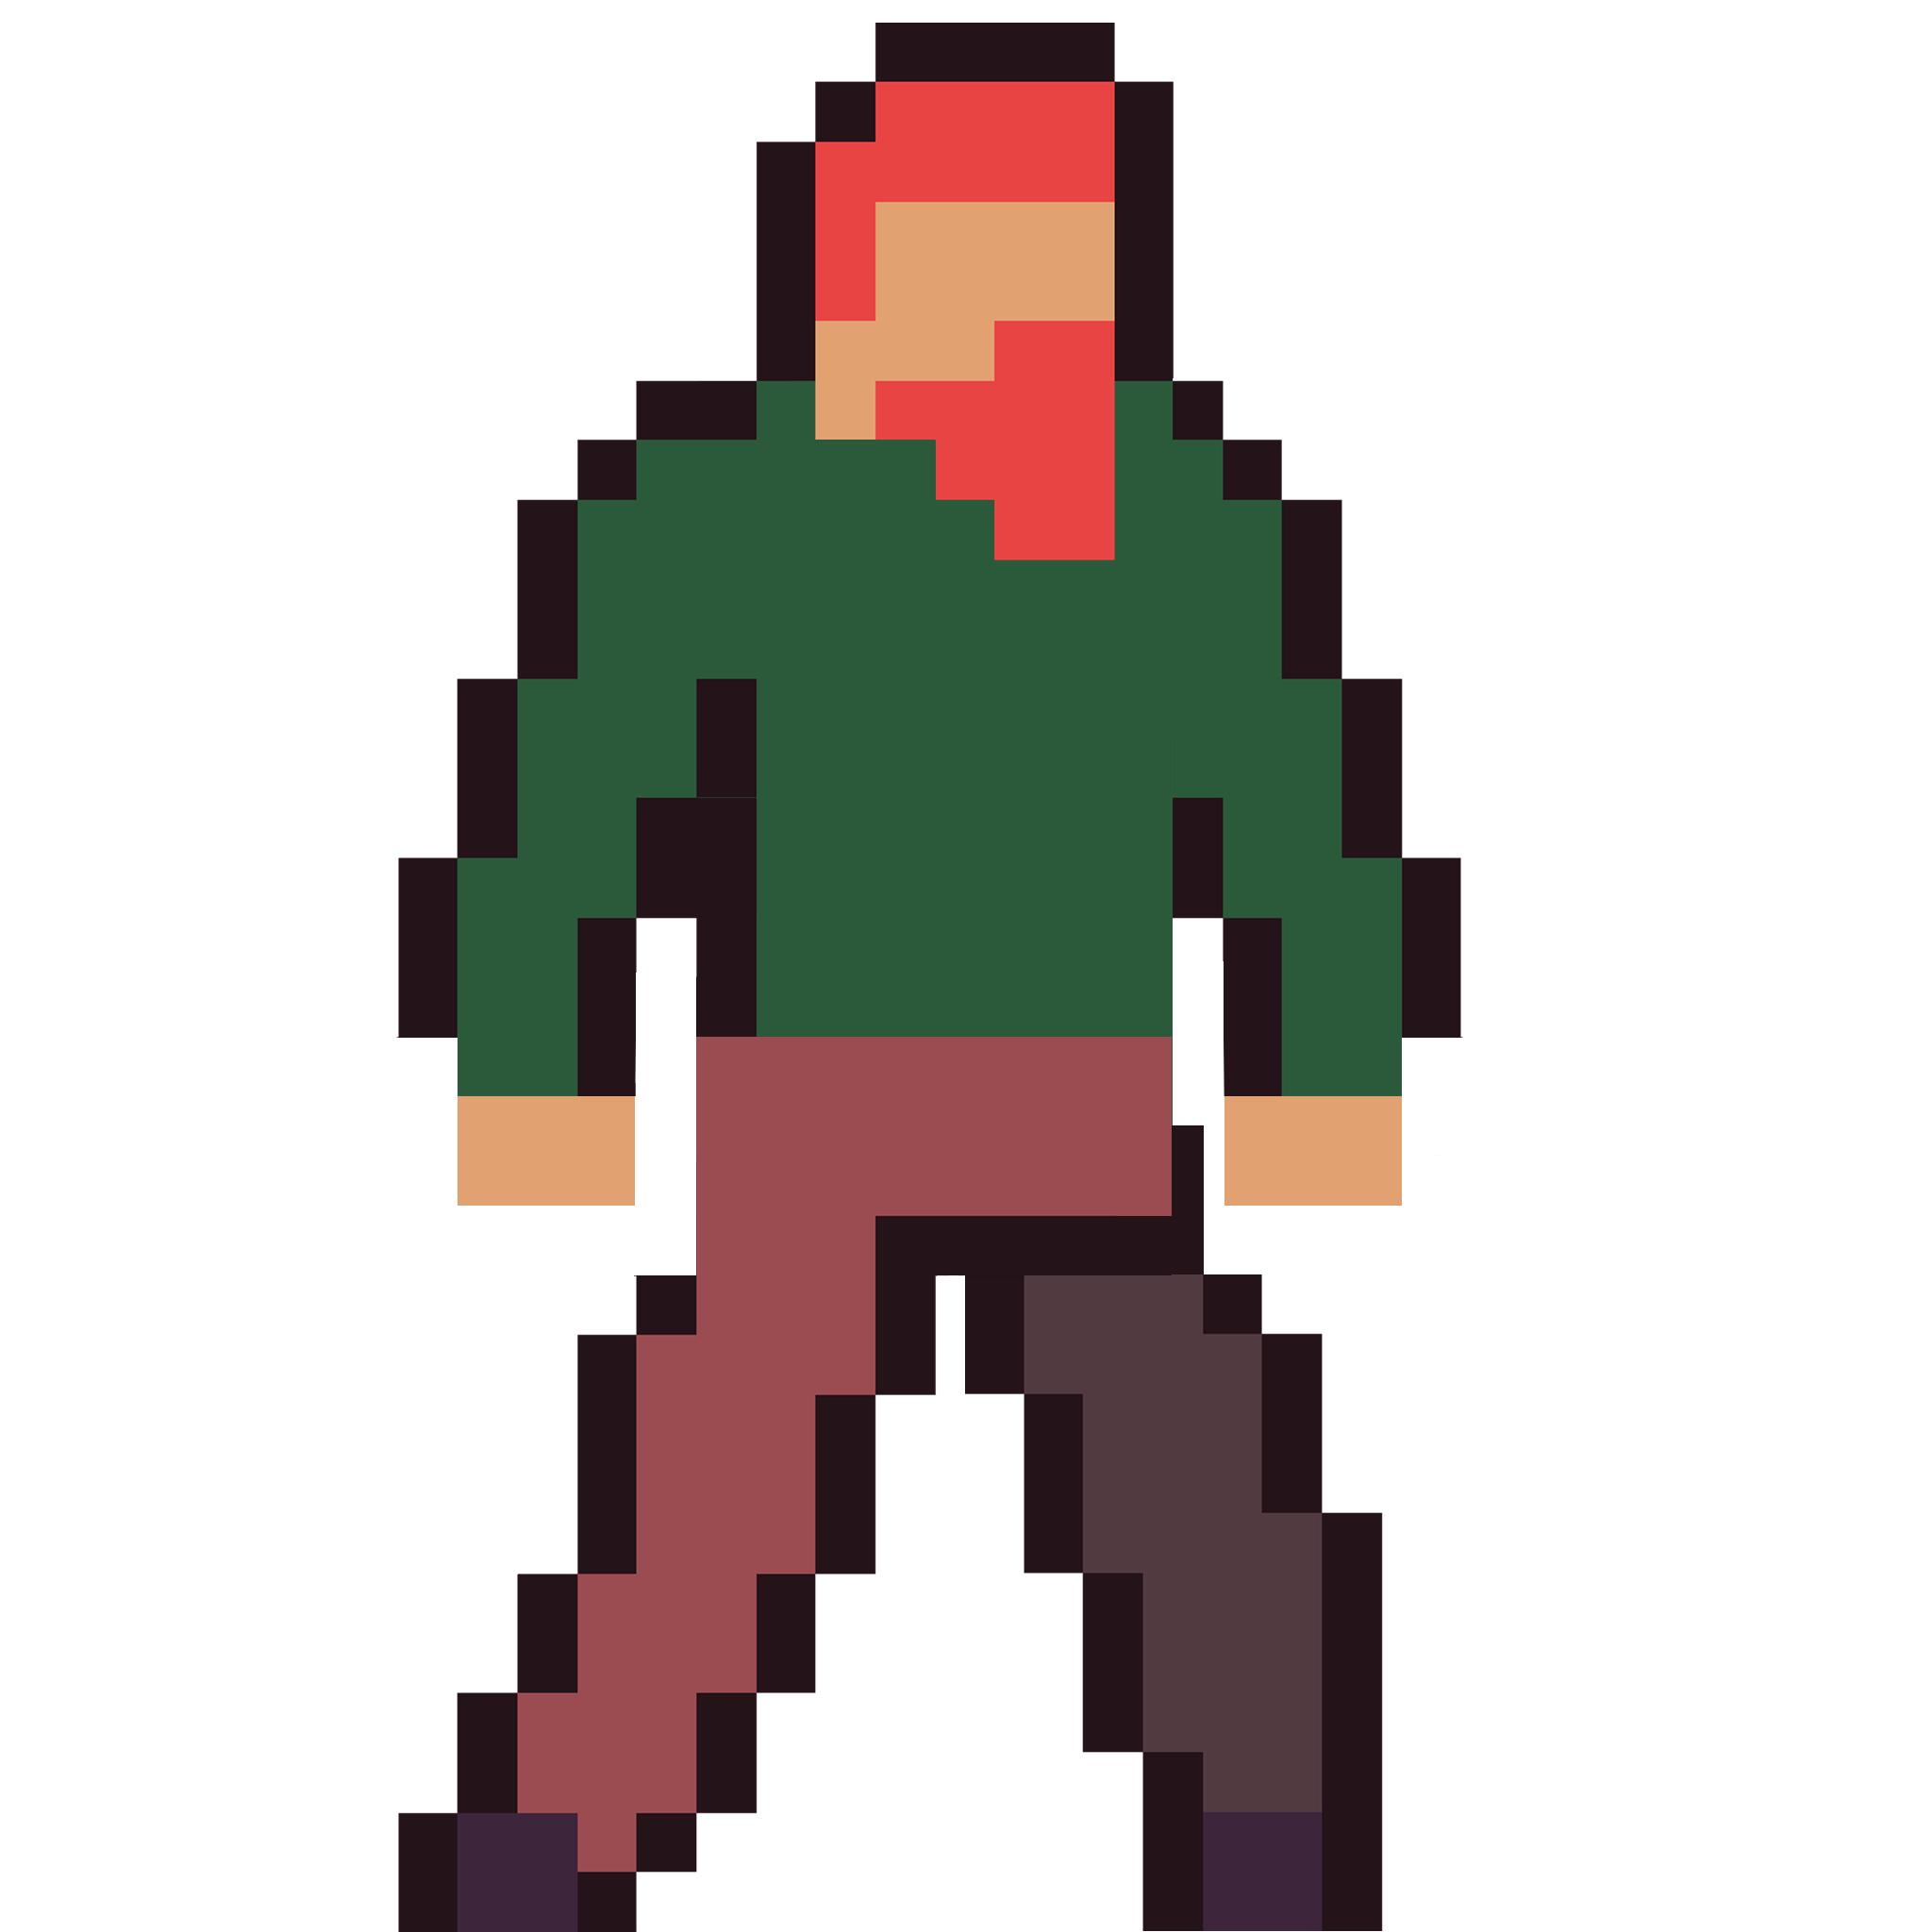
#1: Character Animations – Protagonist
This is my 2D pixel character animations for the protagonist. We can also use this same bone animations for the other characters as well.
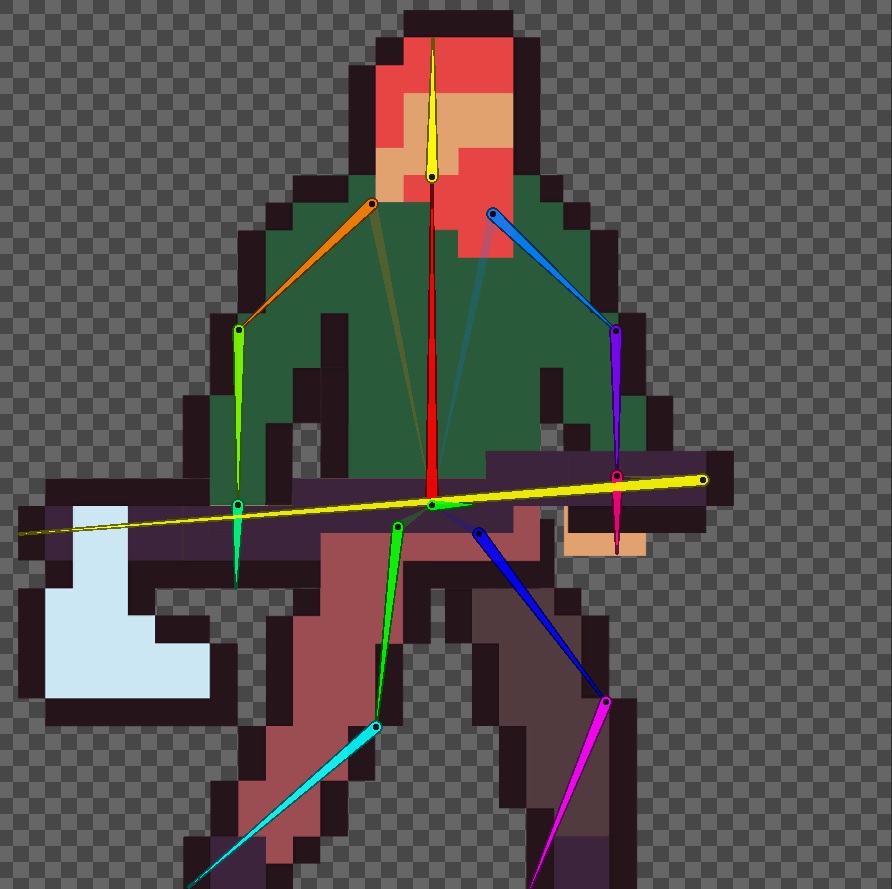
Both FK and IK bones are used.
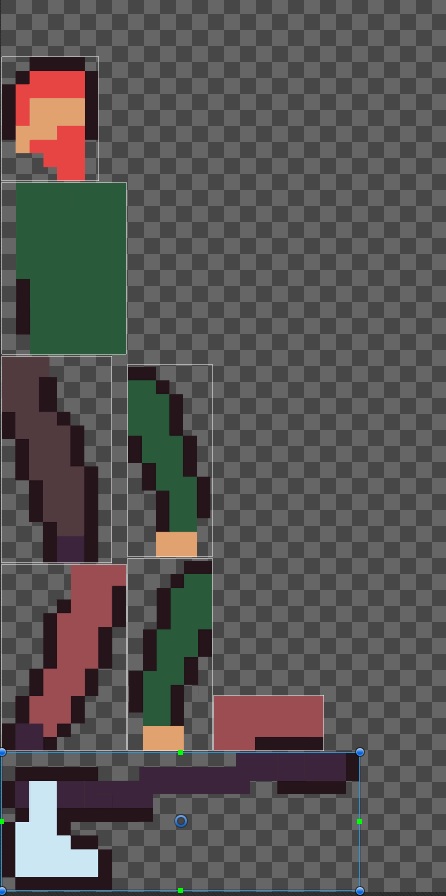
Photoshop Layer Seperation:
Sprite Editor:
![]()
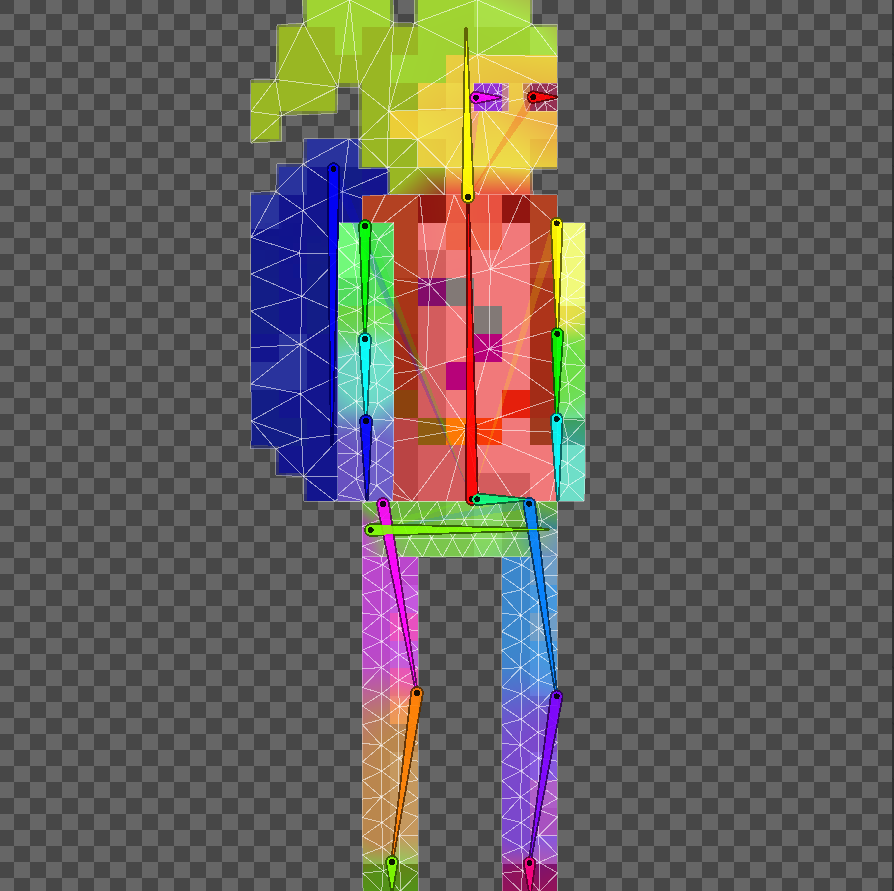
Skinning Editor – Bone:
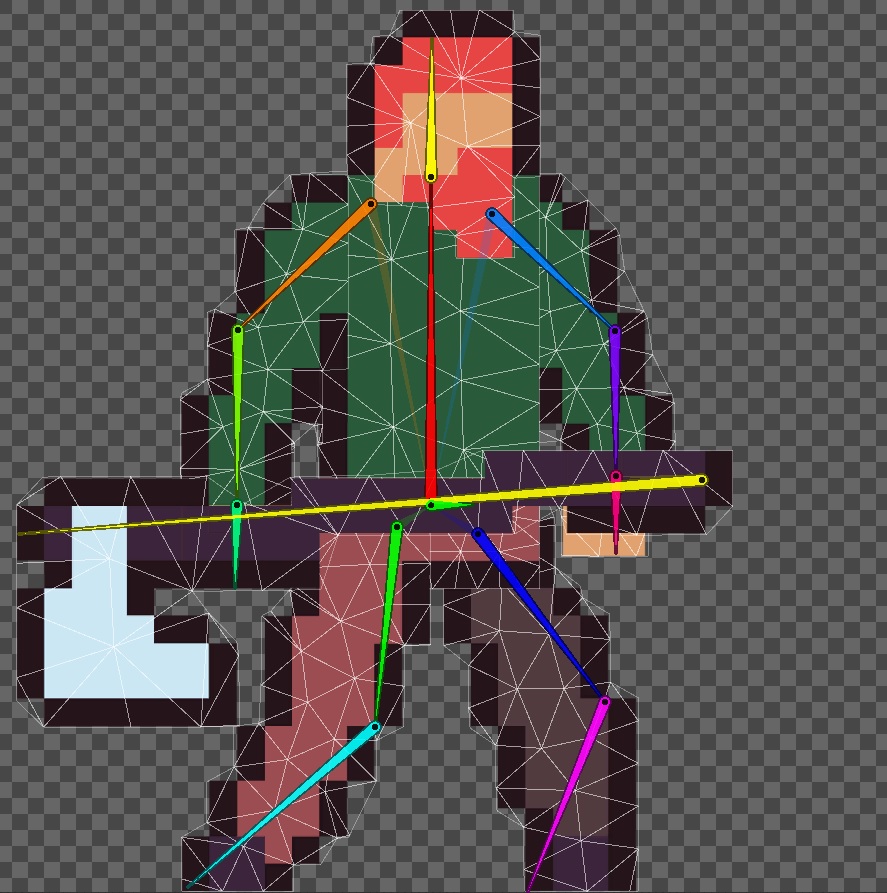
Skinning Editor – Geometry & Weights:
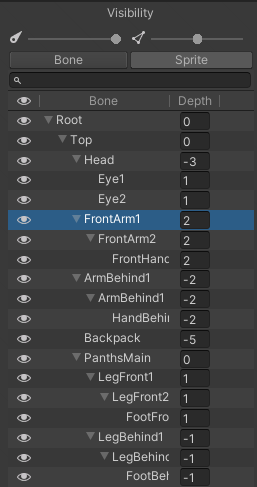
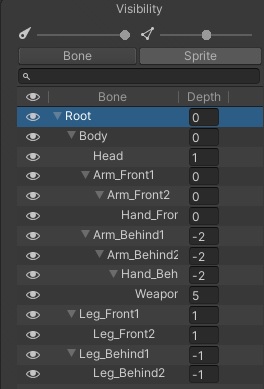
Skinning Editor – Visibility:
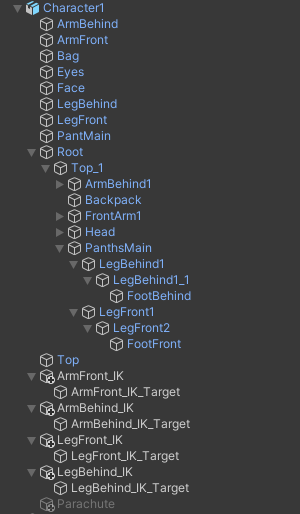
Hierarchy:
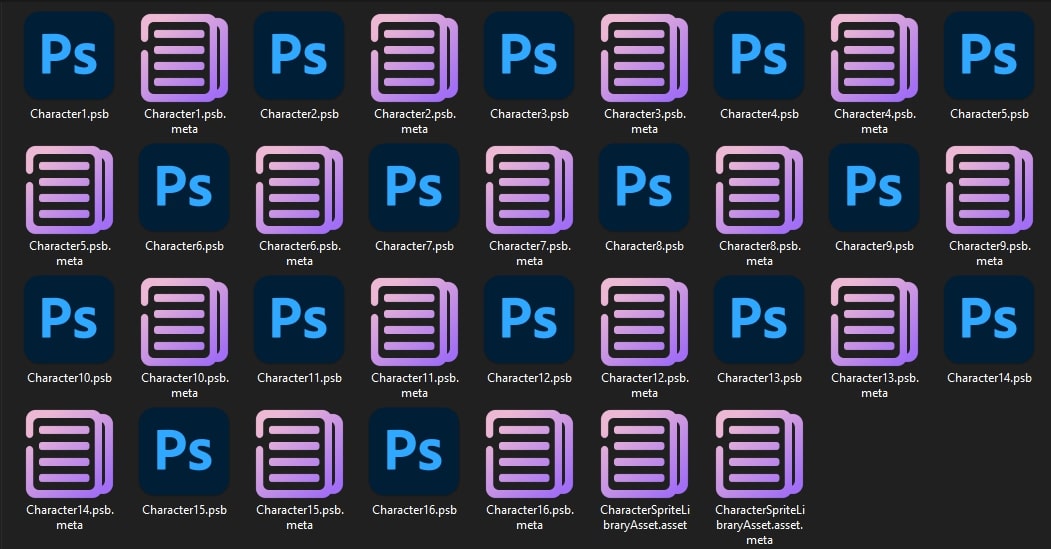
Project Files:
Character Sprite Library Asset:
![]()
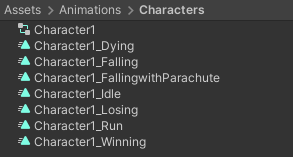
Animator:
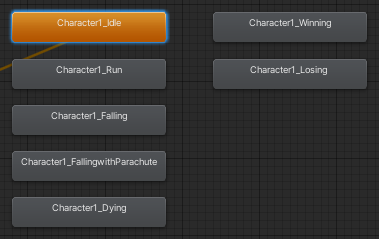
Animation – Idle:
Animation – Running:
Animation – Dying:
Animation – Falling:
Animation – Falling with Parachute:

Animation – Winning:
Animation – Losing:
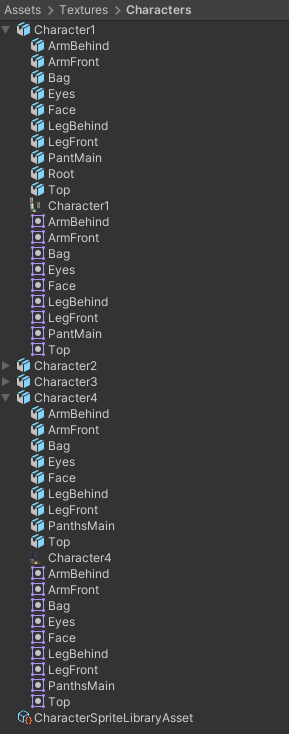
#2: Character Animations – Other Characters
The Strive has 16 characters in the game at the moment I worked on the other characters to implement bones.
Characters: 32px
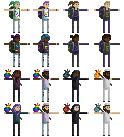
All of them scaled up to 256px.
Photoshop:
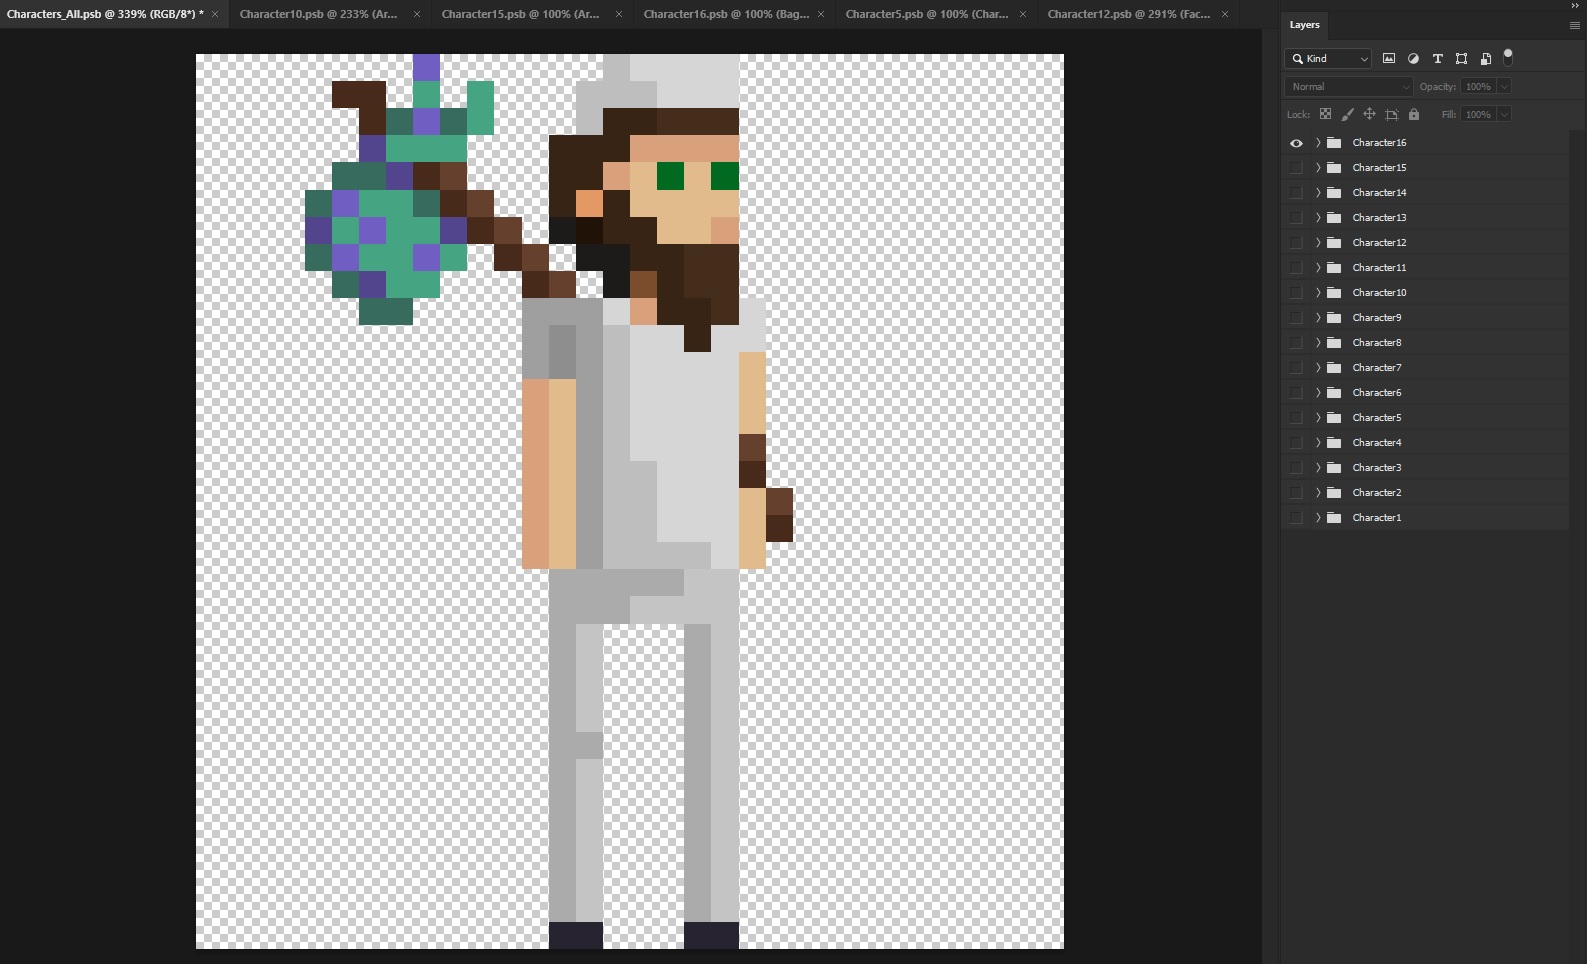
Layers:
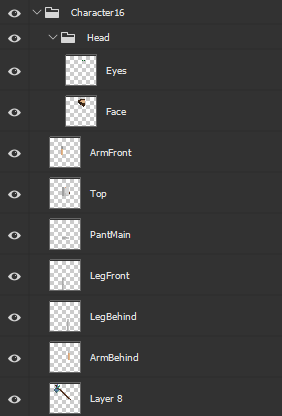
All characters separated into each PSB file.
Missing parts were painted, layers were named and lined up in Photoshop.
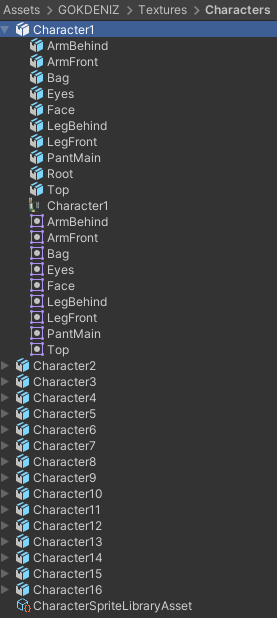
Bones:
All characters’ body parts added into Sprite Library Asset.
![]()
![]()
![]()
![]()
![]()
#4: Character Animations – Using Existing Bones On Other Characters
Finally current bones are works well on the other characters.
Realtime sprite swap implemented and several bugs fixed during the development.
#5: UI/UX Design of The Strive – Design
UI/UX design is one of the important things in the game development. The player needs to move freely in the interface. I want to describe you about the current interface of The Strive game.
Main Menu:
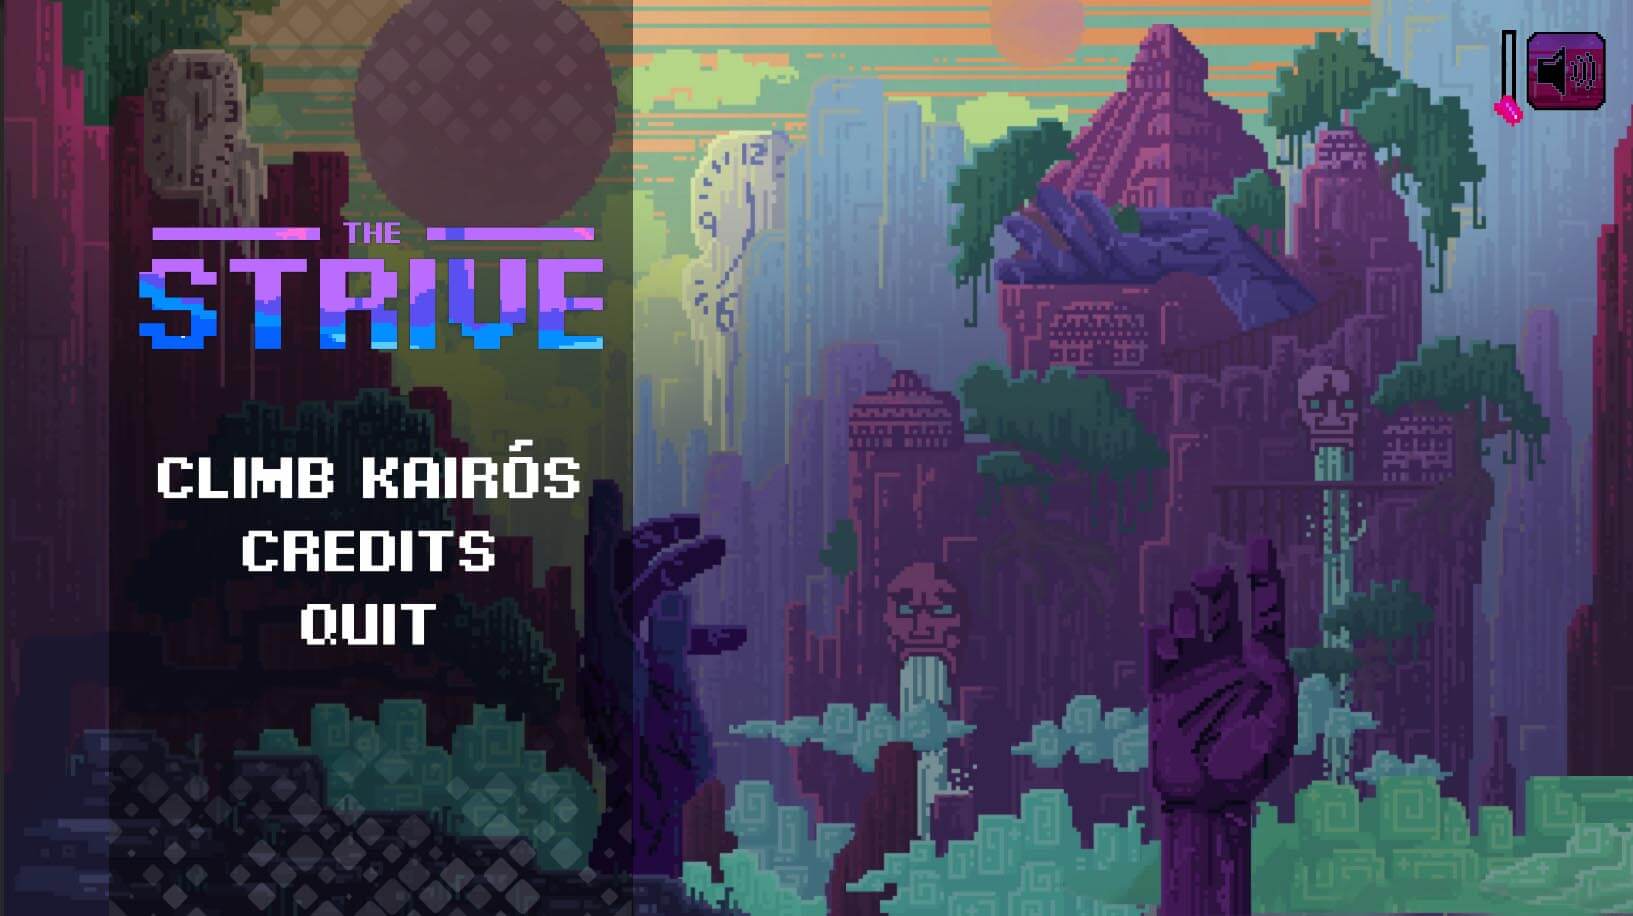
The goal was to make a simple yet modern design. Without blocking the beautiful background, we got the UI menu on the left. The buttons respond to the mouse, a small hover icon appears on the left.
I placed the volume control on the top right. This button, which is small but has two functions, can be toggled between on and off when you click on it, and you can adjust the volume as you wish with the slider on the left.
Transparent gradient was added to the background to strengthen the menu atmosphere, not just as a wallpaper.
Credits Menu:

The credits screen has also been kept very simple and elegant. The texts are centered. Added image and button to the bottom corners.
Character Customization Menu:
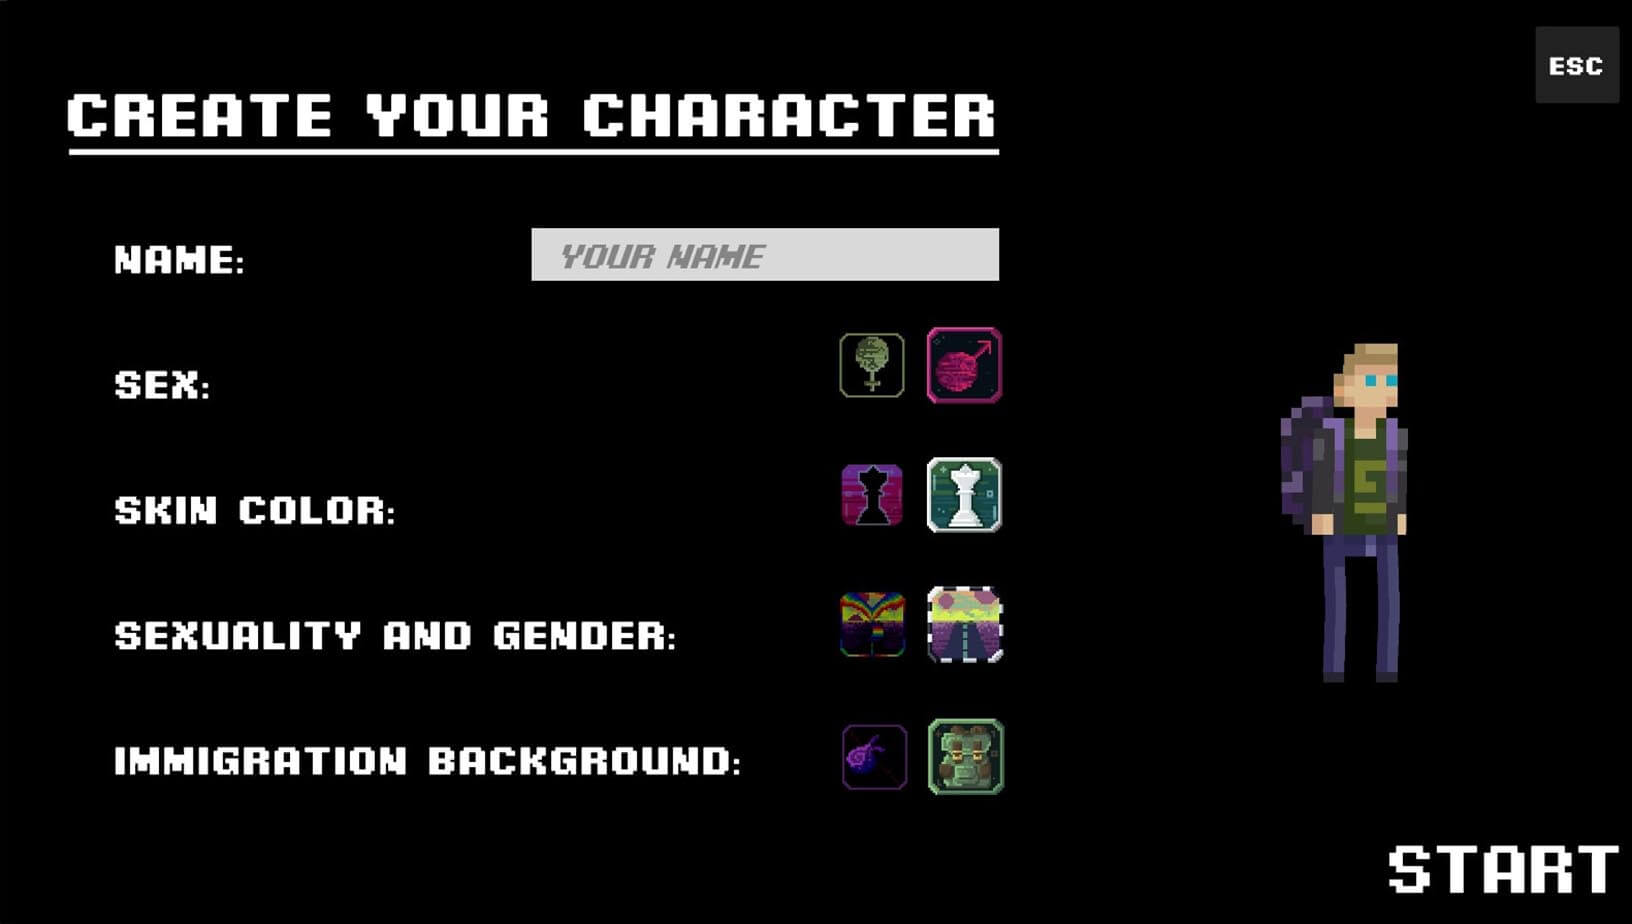
Since the design is generally left oriented, the texts have been moved to the left here too. The image of our character changes according to the features we choose, and a real-time small preview of it has been added to the left.
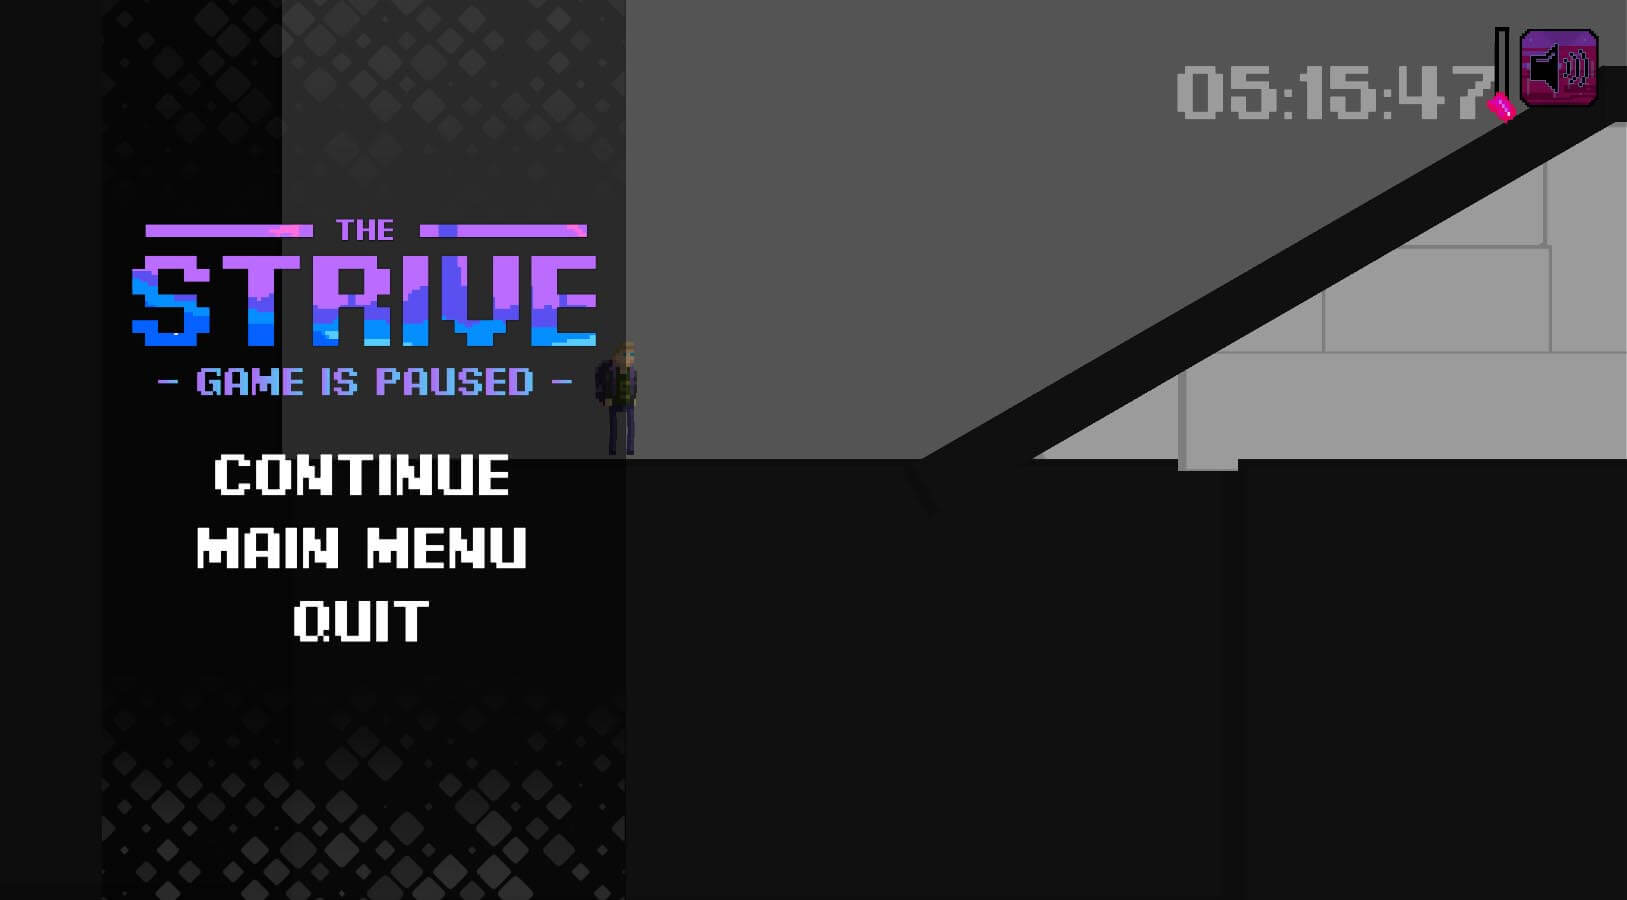
Pause menu design carries the traces of the main menu. Compared to there, the background has changed, replaced by a transparent black panel and the “GAME IS PAUSED” text has been added under The Strive logo.
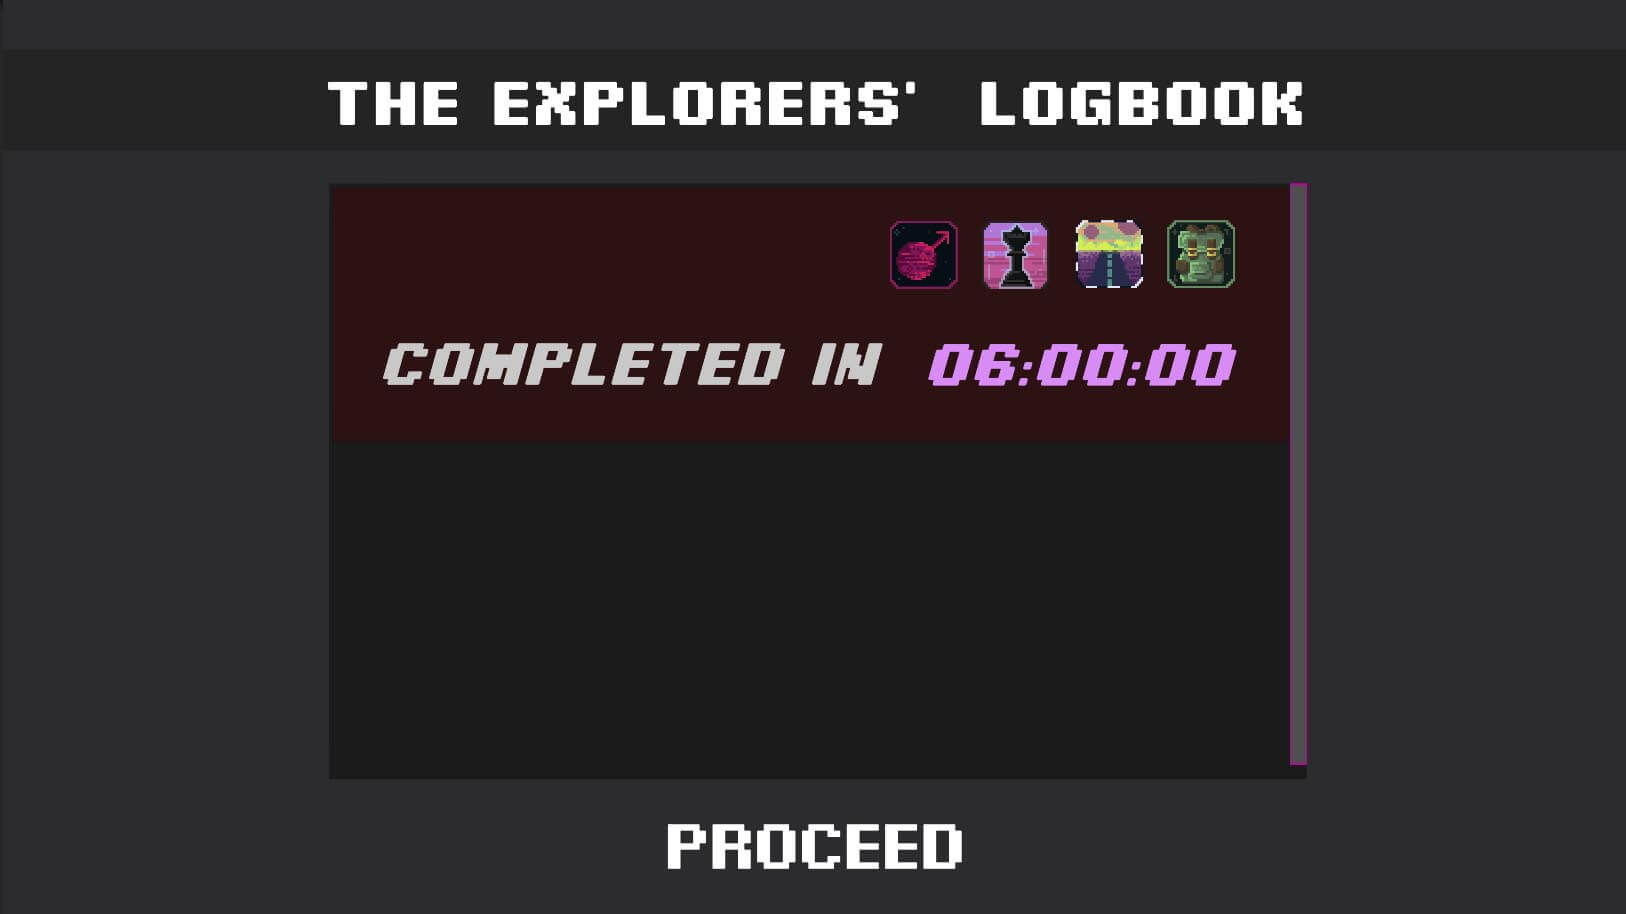
When the game is over, it shows us how long it took to finish it, our name, and our character traits.
#6: UI/UX Design of The Strive – Animation
Animations are key in the visual attraction.
This is how the animated UI/UX looks in the gameplay.
You have seen my all works on The Strive game.
Thank you for reading all!
Still not played the game? Play Now!